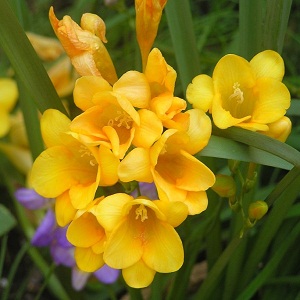
How to Grow Exotic Flower Bulbs

Bulbs are an interesting flower variety! The bulb part that is underground has food and nutrients stored for the flower part. They come in many vibrant and fresh colours which add beauty to any landscape they are grown are. They best thing about bulbs is that they can be dug out and stored when the weather is cold and can be replanted when it gets warm. This way you do not have to buy new flower seeds or saplings each year. Plant different varieties and colours of bulb to give your flower garden an attractive look. Planting bulbs is a really easy job and even a novice in gardening can do it.
Things Required:
– Bulbs or corms
– Sandy loam soil
– Liquid all-purpose plant fertilizer
– Mulch
– Tiller and shovel
Instructions
-
1
Early autumn and winter are the best times to plant flower bulbs which will bloom in early spring and summer. However, in colder areas, bulbs are planted just before spring when the frost has passed. In such areas, most people dig out their bulbs in autumn and plant them back just after frost has passed.
-
2
Till the soil you want to plant the bulbs in. You can dig a trench to make a flower garden or simply make individual holes for each bulb. The trench or holes should be at least 3 inches deep. However, do not dig huge holes because you want the soil to press in the bulbs for better bloom. Place the bulbs in the holes in a way that the pointed side is facing you upwards. Now back fill the holes with soil. If you are planting the bulbs in a trench, you should keep a distance of 3 inches between each bulb so that each has its growing space.
-
3
Water the bulbs well as they thrive in damp conditions. It is better to water daily in the cool times of the day like mornings and afternoon. Spread a layer of rich mulch over the flower bed. Mulch restores organic richness of the soil and also increases its water retention abilities. It keeps the soil moist.
-
4
You can also use a liquid fertilizer over the bulbs to aid growth. Apply the fertilizer each month during the growth season. Use the instructions on the label to apply it the right way.


