How to Add an Extra Hard Drive

There is little arguing to the statement that no one pays attention to the size of the hard drive when buying a computer. Most people, at the time of buying, only think about RAM, graphics card and other things.
Sooner or later, every hard drive reaches its limit. Almost every computer user faces a problem where he/she fails to store all of the information in one hard disk. Thus, a secondary storage unit is required for this purpose.
You can, of course, remove some files, or burn them to a disc in order to avoid adding another hard drive. It is best that you install a new hard drive, which will save you from deleting files and data loss.
With a lack of permanent memory available in the PC, it is highly recommended to add a new hard drive in order to save your important data. To do this, it is crucial to choose the right type of hard drive. In addition, it is necessary to check the possibility if your computer’s motherboard allows for an additional hard drive.
A user may encounter different problems while connecting two hard drives because a problem usually arises when you connect them without knowing the correct configuration of the motherboard, as well as boot priority.
Instructions
-
1
First, you should make changes to the hard disk interface. Now, almost all hard drives are connected through SATA. To find out if your motherboard supports SATA interface , you can read the manual or check online by searching for the exact model and manufacturer's information.
-
2
Turn off the computer and all the devices connected to it. Remove the system unit cover and then place it at one side because it will be easier to get access to the interfaces of the motherboard.
-
3
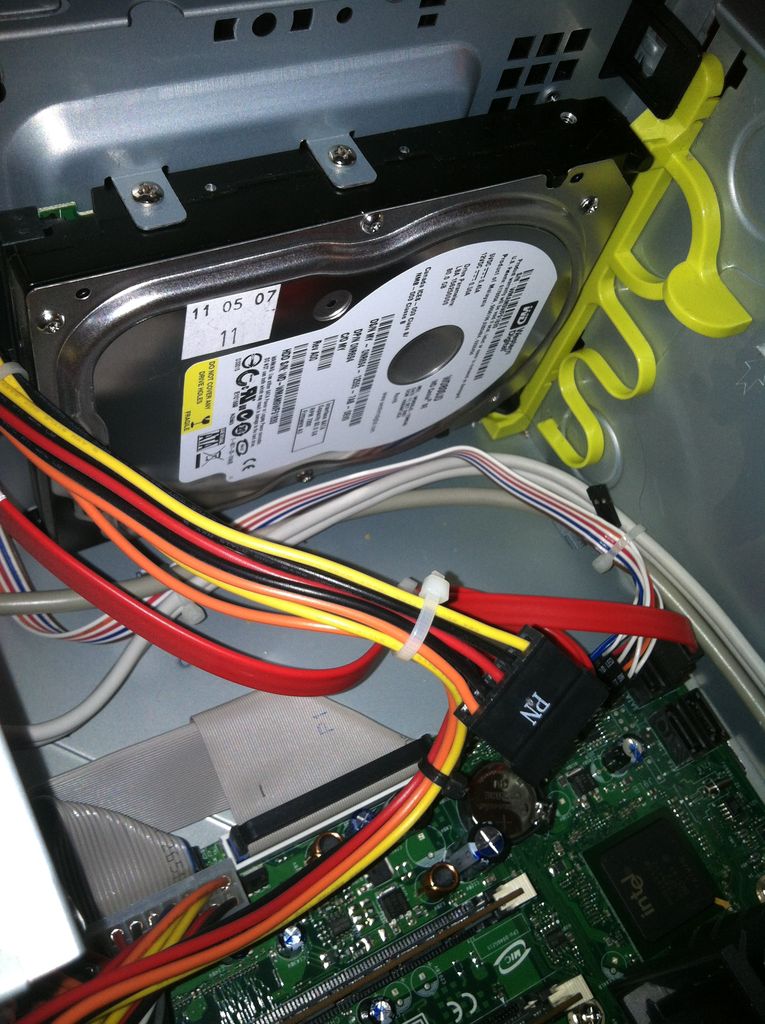
After the SATA-interface is found, connect one end of the SATA-cable. Insert the hard disk into the empty slot housing the computer. Next, connect the hard drive to the second end of the cord.
-
4
If your motherboard does not support the SATA-interface, or you got a hard drive with an ATA-interface, the connection procedure in this case is not much different. Connect the ATA ribbon cable to the system board and the second end of the line to the hard drive.
If you did not have a free port ATA, then you can use the ATA-train, which allows you to connect a few ATA-interface devices. These cables usually come with your motherboard or you can buy them at a computer accessory store. -
5
After connecting the hard drive close the system unit. Turn on the PC and the operating system will automatically install all the necessary drivers.


