How to Add Eye Popping Color to a Photograph Using Adobe Photoshop

An essential part of any photographic composition with people is the eyes. Therefore, it is often necessary to process them in the preparation of the image for printing. You can do this in Adobe Photoshop – a powerful professional graphics editor.
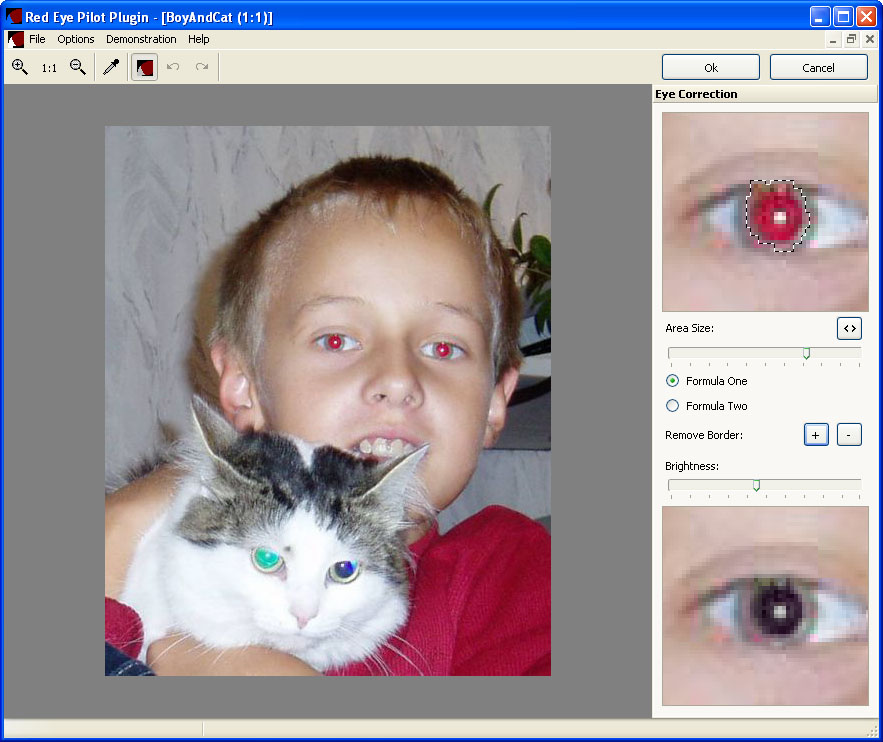
Red eye is a common weakness that often occurs when shooting with a compact camera with a flash. This often happens because this type of camera flash is too close to the lens. Red eye is caused by selective absorption and reflection of the light, belonging to different parts of the spectrum, the retina.
Instructions
-
1
Upload a digital image that contains the defected image of an eye, to be processed in Adobe Photoshop. To do this, you can transfer the file from the Windows folder or file manager in Photoshop or use the dialog box. You can open the image by clicking on an item from the File menu or by pressing Ctrl + O.
-
2
If the image has a "red eye", remove it. Activate the option “Red Eye”. Set your Pupil Size and Darken Amount in the top panel. Click on the image of the pupil. Check the result. If necessary, cancel the action by pressing Ctrl + Z. Make necessary alteration to the Pupil Size and try to enlighten the image with the help of different tools in the application.
-
3
You can also lighten or darken the iris of the eye. Create a selection area around the desired portion of the image. In the menu, choose Image, Adjustments and "Brightness / Contrast". In the dialog, enable the Preview. Then pick up the appropriate values of parameters such as “Brightness and Contrast” and then click “OK”.
-
4
If you want to change the color of the eyes, create a selection area around the iris. In the menu, choose Image, Adjustments and "Hue / Saturation". A dialog box will appear. Activate it and preview option Colorize. Change the values for Hue, Saturation and Lightness, and then click OK.
-
5
Save the processed image. Press Shift + Ctrl + S. Click on the “Save As” option as soon as any dialog appears. Enter your name in it and the output file format, as well as the location you want to save the file.


