How To Add Files to An Ipad

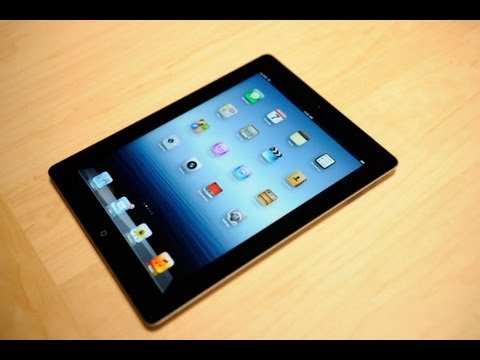
If you are using an Apple iPad, you can add files to it from your Mac or PC. Your iPad fully supports the service of file sharing with the help of which you can easily transfer your necessary documents to it from your PC or Mac or vice versa. All you need is to download and install certain apps in order to avail this opportunity.
Apple iWork suite which contains Pages, Numbers and Keynote helps the file transfer in iPad. In order to add files to your iPad from your PC, you have to configure file sharing from iTunes after connecting you iPad to the PC.
Instructions
-
1
First of all, you have to plug your iPad into your computer or MAC by your USB cable. The smaller end of your USB cable is to be inserted in your iPad and the other end is meant to be inserted into the USB port of your PC.
-
2
When you will plug in your USB cable, your iTunes will be opened automatically.
-
3
Now, you have to highlight your iPad (select the name which you have given to your iPad) from the list of ‘Devices’ which you can see on the left side of your screen.
-
4
Then, go to the ‘Apps’ tab which is displayed at the top of your iTunes window.
-
5
After that, scroll down the window to the section ‘File Sharing’ and then select the application which you want to use in order to transfer the files which you need in iPad.
-
6
Just click the ‘Add’ button on your screen.
-
7
Now, you have to select the files which you want to transfer from your computer to your iPad. After selecting the files, just click ‘Choose’.
-
8
In order to save the settings and to start the process of file transfer, you have to click ‘Sync’ button.


