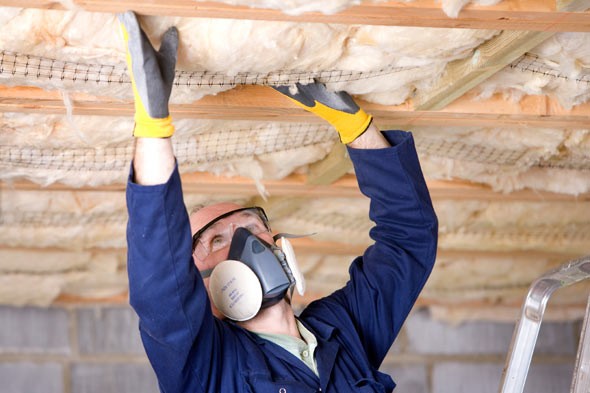
How to Add Roof Insulation

Insulating your house will not only help to save electricity bill and gas but will also minimise the transfer of heat or cold inside the house.
In summers, extreme heat warms your roof and eventually let temperature rise in your whole house. On the other hand in winter, your roof is the first thing which becomes cold. This coldness is then transfered to your whole house.
To stop the transfer of heat or cold, insulation is required.
Instructions
-
1
Decide the type of insulation
First of all you need to decide what type of insulation you want to put on your roof. Fiberglas batts are the best type of insulation which can be used. They are cheap, easy to handle and easy to manage. These batts are rolls of plastic and are most commonly around seven inches thick. -
2
Check the R-value
Next you need to check the right R-value. You can visit the official website of the Department of Energy in order to determine the right R-value for you. -
3
Calculate the area between rafters in your roof
You need to calculate the space between rafters in your room. You need to measure the space between rafters which are most commonly 16 inches.
In case it is less then you need to cut your insulation material accordingly. -
4
Determine the length of the rafters
Next you need to measure the length of the rafters in your ceiling. This is to calculate how much insulation material is required.
You need to cut out your desired length with the help of utility knife. -
5
Place the insulation
After measuring the width and length, place the insulation between rafters.
Note that you need to cut out the insulation accordingly. You have to properly fit around pipes and air ducts. -
6
Repeat steps to completely cover your roof
You need to repeat these steps for other portions of your ceiling until you completely cover your roof.


