How to Adjust the Brakes on Your Bicycle

You are getting ready for a biking trip and a overnight stay is possible. You have to make sure that everything is perfect and there is no hurdle on your way. The process of confirming the things are ready for the trip, one of the main things is to make sure the conveyance is perfect. Bike has to be tuned up for a long trip, the tyres should be tip top and the brakes have to work properly to avoid any accidents. In order to make sure the brakes are working fine, you will have to go through a thorough check.
Instructions
-
1
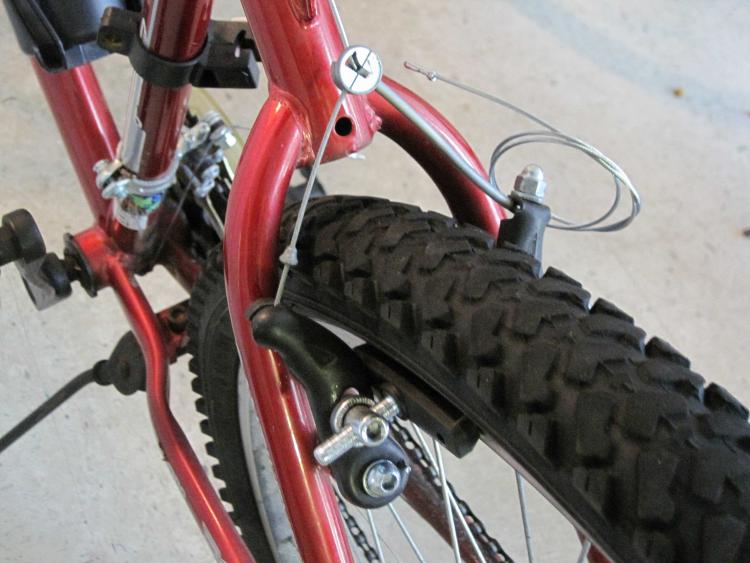
You need to check out the brake pads that are situated at the side of the tyre. They are located on both sides of the tyre. You will have to check the condition of the pads. You have to make sure they are not worn out and work properly. The rubber on the pads should be at least ¼ inches between the calliper and the tyre. If it’s not, you will have to buy new rubber pads.
-
2
Take a look at the brake cables. You have to make sure that they are not depleted at all, broken or worn out. They should be working smooth as soon as you put on the brakes. There should be no distraction for them in between. The calliper should move abruptly. Otherwise you will have to change the entire cable assembly that will cost you a bit but save you a lot of hassle that you might face later on in the trip. It is a safety precaution. Check out if the full brake press causes the tyre to jam or not.
-
3
Check out if the calliper is working fine. They should work on both sides of the tyre with the same accuracy as desired. They should be engaged simultaneously whenever the brakes are applied. Check that on both tyres and decide if you need a new pair of calliper of the one in function is good enough especially for a lengthy trip.
-
4
Lubricate the calliper pivot and the cables as well. You will have to adjust the tightness of the brakes as well. Just tighten the screw to make it tight or loosen it, it all depends on how you want the brakes to be.


