How to Apply Bead Nail Art

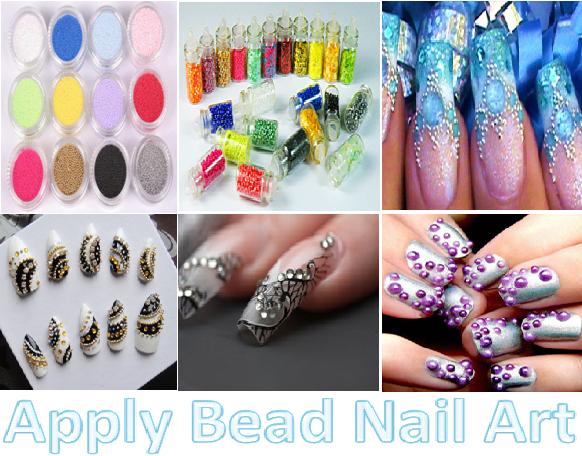
The trend of nail art designs is becoming very popular now days. Fashion magazines are full of models with unique and eye-catching nail art designs. Applying bead nail art is fun and a fabulous way to way to create unique nail art design. Nail beads are available in multiple sizes, colours, and designs. Metal or glass look are two of the famous nail beads. You can arrange the nail bead in numerous ways to designs according to your choice or different occasions. You can also make simple nail art designs like flowers, hearts, stars, animals, or flags etc and highlight them with multi-colour nail beads.
Thing Required:
Colour nail polish
Clear nail polish
Toothpick
Nail art beads
Instructions
-
1
First of all decide the colour and size of the nail beads. You can select them according to the occasion.
-
2
Manicure you nails first and apply any of your favourite nail polish that goes well with the colour of the nail beads. Wait for few minutes until your nail colour dry properly.
-
3
Now, grab another nail polish in contrast with the base colour and make any of your favourite designs on your nails. You can make hearts, stars, flowers, fruits, animals, cartoons, leopard prints, beach or anything you like.
-
4
Before you nail colour dries, carefully arrange the selected beads on wet your nail paint. However, you have the option to put a tiny drop of topcoat on the place where you want to place the nail beads.
-
5
Pick up any of the pointed tools like a toothpick or a dotting tool and dip its tip into water. Now, pick up a nail bead by dipping the end of a toothpick into the container of beads. Gently place the nail bead on the nail where you exactly want o place them.
-
6
Repeat step 5 until the designs on your nails are finished and let the nail beads sit for few minutes until the nail polish along with the nail beads dry.
-
7
Gently apply a topcoat on your bead nail art to seal and protect your beads.


