How to Build a Glass Block Wall

Glass block walls can be conveniently built to create seclusion of space in a decorative manner. They ensure privacy because of their dense form but also allow light to pass through giving the interior a light and airy feel. These blocks come in different colors and shapes now and can be used creatively. However, the most used are still the regular sized blocks which resemble concrete blocks, only that they are glass. Their installation might appear as a daunting task but is a pretty possible one for any determined homeowner on a remodeling spree. It is made much easier with a guide meant in the form of steps for a better understanding.
Things required:
– Measuring tape
– Spacers
– Lumber for framework
– Hand saw
– 2-inch wood screws
– Wood glue
– Level
– 3-inch wood screws
– 5-gallon bucket
– Mortar
– Trowel
– Steel reinforcement rods
– Foam expansion strips
– Electric drill
– Large sponge
– 1/2-inch wooden dowel
– Construction adhesive
– Silicone caulk
Instructions
-
1
You need to build a wooden frame for your glass block wall. Since the blocks cannot be cut, it is better to build a frame that accommodates the blocks and their spaces snugly.
Take measurements of the area you want to build a wall on. It is better to rehearse the arrangement by building up a dry wall using the blocks without any adhesive. This will give you a pretty good idea of the arrangement and the height of the wall.
Make the wooden frame by cutting lumber pieces according to the measurements using a saw. Join the pieces to make a frame using screws and wood glue. Install this frame to the surface where you want to build the wall using screws. Use a level to ensure that it is even.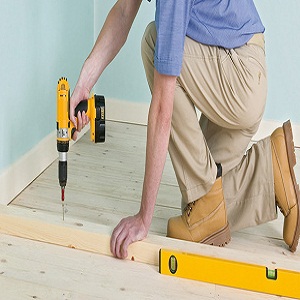
-
2
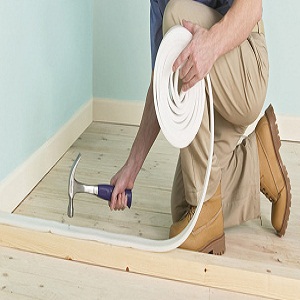
Use construction adhesive to attach the foam expansion strip to the interior of the wood frame which will be in contact with the blocks. Leave the bottom part of the frame and cover the rest three parts with the expansion foam.
-
3
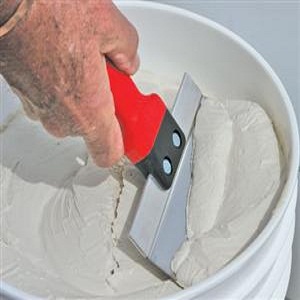
Make the mortar in a bucket using the instructions on the top. The mortar should ideally be neither too thick nor too runny. It will act as the glue for the glass blocks.
-
4
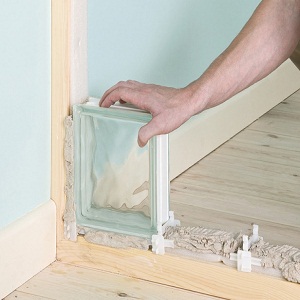
Apply a thin layer of mortar over the base of the frame. Set in the first block with a spacer between the block and the frame. Apply a layer of mortar to the side of the block which will be in contact with the next adjacent block. Set down the next block with a spacer between it and the first one.
-
5
Once you are done with the first row, drill a hole through the frame into the wall, right in the middle of the frame. Apply a layer of mortar over the first row blocks and start setting in the blocks. When you reach the hole area, install a steel rod into this hole. Apply a layer of mortar over the rod to cover it up. Continue installing the blocks.
Do not forget to install spacers between each set of blocks. Wipe off the excess mortar with a damp cloth. Keep installing steel rods for each row as these rods reinforce the whole structure.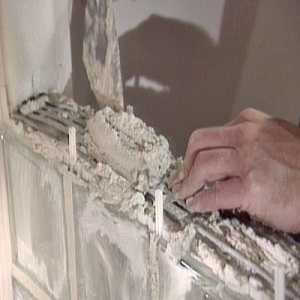
-
6
When the mortar has dried off, remove the spacers. Fill the gaps with mortar suing a trowel. Use a wet cloth to wipe the excess mortar. Apply silicon caulk to the edges of the wooden frame to fill off any gaps.


