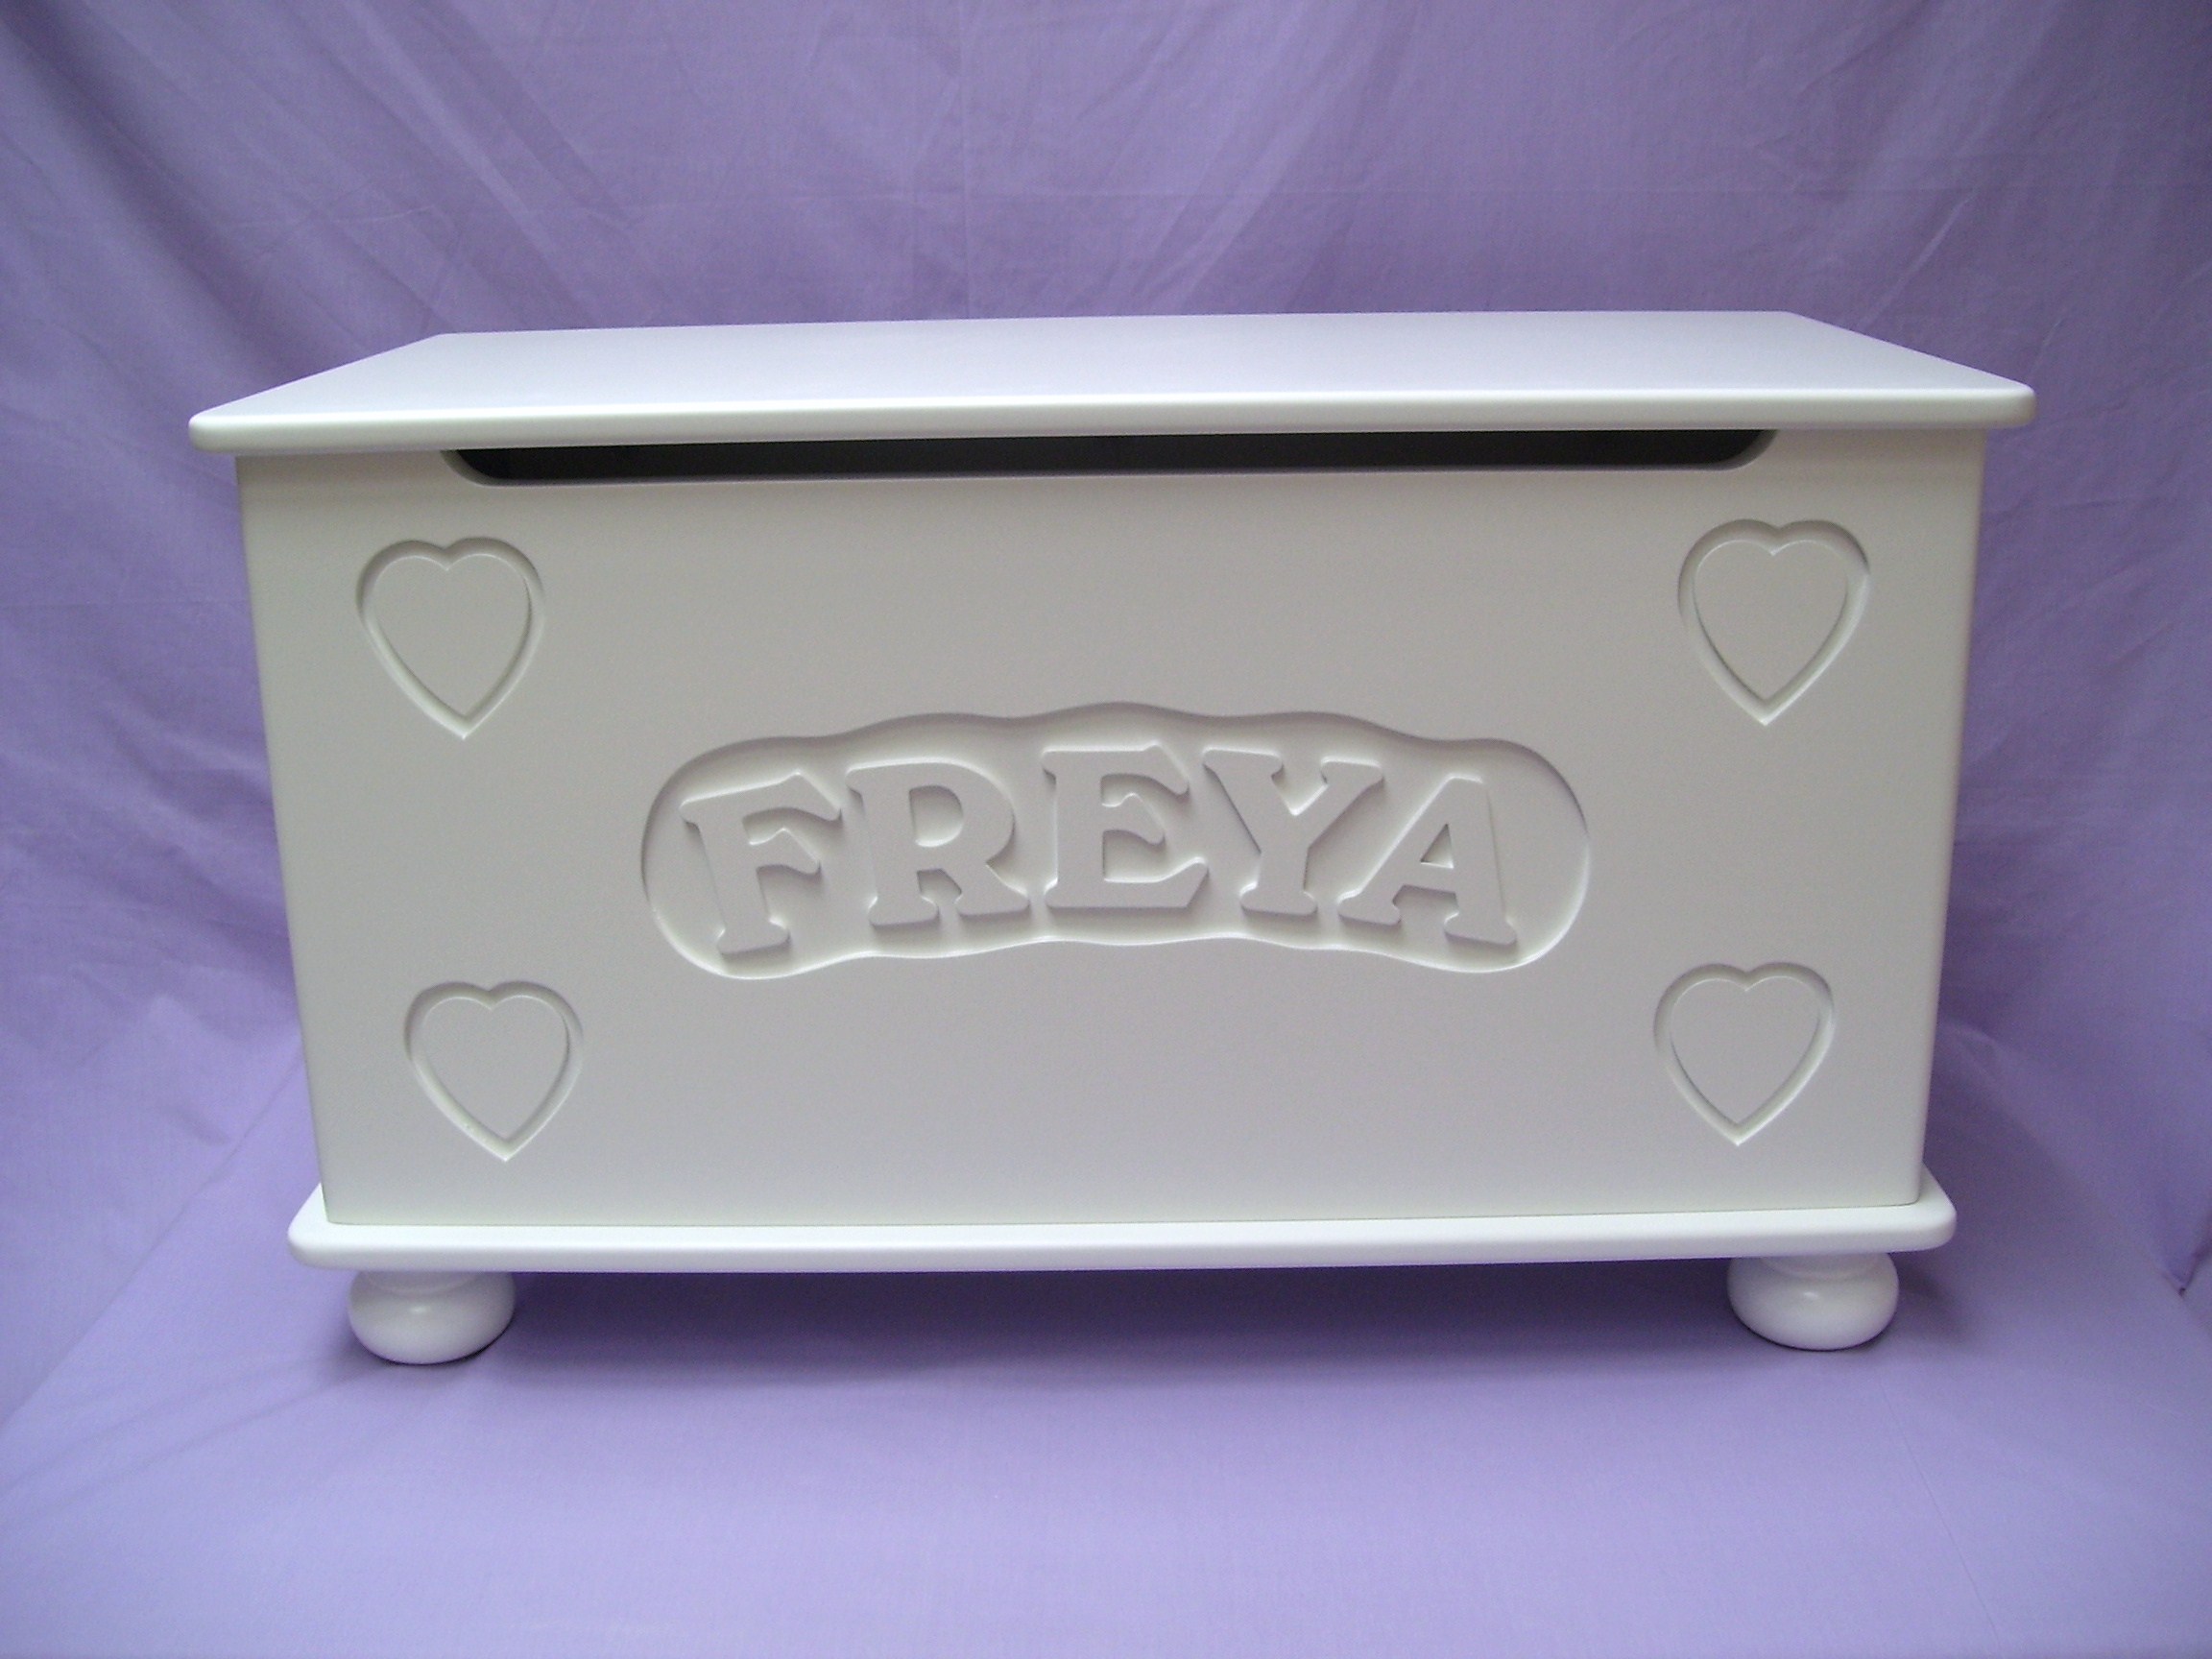
How to Build a Toy Chest Out Of Wood

Kids would like to have a beautiful toy chest to keep all their priceless playing things safe and sound. Fancy toy chests are available in the market and the manufacturers charge a handsome amount for them. However, just think how delighted your children will be to have a toy chest made by yourself. It can serve as another gift to your children and will be used to protect all the other gifts you have given them previously. You can easily make a toy chest out of wood and paint it accordingly to make a beautiful present for your children.
Instructions
-
1
You will require planks of plywood to build up the toy box. A ¾ inch thick sheet of plywood will be ideal to make a strong chest. You have to cut down pieces of wood but have to be very careful while taking measurements, as every piece of plywood has to be perfectly cut to fix in its right position while assembling the chest.
-
2
You can use an electric wood cutter to cut two 36-by-24 pieces of plywood for the front and the back of your toy box. One 36-by-16.5 inches piece will be required for the bottom, two 22.5-by-16.5 inches pieces for the side walls and a 36-by-18 inches piece for the top of your toy chest. Use a measuring tape to get the accurate dimensions of all these pieces before cutting them.
-
3
Place the bottom piece of plywood on the floor and stand up the front piece against it. You will need 1.5 inches long screws to affix the two pieces together from the bottom. Do the same with the back piece and you will get a ‘U’ shape from the wooden pieces.
-
4
The side pieces you cut before will be easily fit between the front and back piece. Use four 1.5-inch screws to affix each side of the toy box.
-
5
Now attach two safety hinges on each corner of the lid and then place a third hinge right in the middle of them.
-
6
Put the lid on the box and affix the hinges to the back side. You will need screws to attach the hinges to the chest.
-
7
Wood putty can be used later to fill the screw holes. Sand the toy chest to smooth out any rough edges.
-
8
You can use primer to paint the exterior side of the toy box or even spray paints for faster application.


