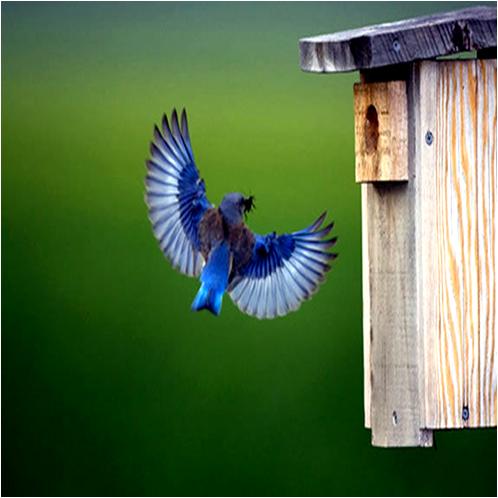
How to Build a Tufted Titmouse Nest Box

Birds’ singing in the morning is a pleasant experience to start your day in a wonderful manner. For this purpose, you will have to welcome the colourful birds to your garden, lawn, or backyard. Build your own Tufted Titmouse Nest Box and attract numerous multihued birds like the woodpecker, robin, coal tit, and wren etc, to your territory. The structure of this bird house nicely suits the requirements of majority of birds, including nest building, egg laying and feeding out etc.
The commercially available Tufted Titmouse Nest Boxes can be expensive, so it’s better to make your own one as it is simple to put up and maintain. It requires very few easily available tools.
Things Required:
– 4 feet of wood – about 1-inch by 6-inches
– Hand Saw
– Hand Drill Machine
– ½ -inch bit
– 1 ¼ -inch bit
– Lead Pencil
– Wood glue
– Hinge
– 4 small screws
– 1 small nail – optional
– Hammer – optional
Instructions
-
1
Use a handsaw to cut a half-inch off the wood lengthwise (sideways) so that the piece should gauge 5 ½-inches wide throughout.
-
2
Make use of the same handsaw and cut the wood into six pieces. Cut and name them according to the given instructions:
Wood Piece Name Measurement
Back Side (a) 10 to 11 inches long
Front (b) 8 inches long
Roof (c) 8 ¼ inches long
Two sides (d1 & d2) 8 inches long
Floor (e) 4 inches long
You will be left with about a 3/ 4-inch of wood piece, discard it or use it for some other purpose. -
3
Bore two half-inch ventilation holes in “d1”, “d2”, using a hand drill machine. Make sure that the holes are positioned on the topside of the wood pieces, just 1-inch down and 1-inch in from both edges.
-
4
Moreover, bore four ventilation holes in piece “e,” about 1-inch down and 1-inch in right from the both corners.
-
5
Use a lead pencil to sketch the entrance hole in piece “b.” mark it somewhere about 1 ¼-inch right from the top wood piece and centred. Its diameter should be of same measurement (1 ¼-inch). Use a drill bit or hand drill machine to bore the market entrance hole.
-
6
It is the time to put together the wood pieces to give your Tufted Titmouse Nest Box a final shape. Use the wood glue to stick the wood pieces together, except the piece d2. If you are not yet clear about the procedure to glue together the wood pieces, follow the given below instructions:
- The piece “a” (back) should slightly extend away from over the bottom (e) and top (c) in order to allow for attachment to a tree.
- Attach “d1” and “b” pieces.
- Glue together piece “c” and “e”
- Finally, glue the entire bird box to piece “a” (back side) -
7
Once you glue together the mentioned pieces of wood, set the overall structure of Tufted Titmouse Nest Box aside until the adhesive dries out completely.
-
8
Attach the hinge to the centre (axis) of piece “c” so that it could freely hand over the open side of the Tufted Titmouse Nest Box where piece “d2” will be attached.
-
9
Put together the other side of the hinge right to the top (peak) of piece d2, making sure that it is bendy enough to swing upward so that you can use it to visit the bird’s nest or to clean the box.
-
10
Your Tufted Titmouse Nest Box is all set to go, attach it to the tree in the desired location, using some medium nails or screws. Enjoy!


