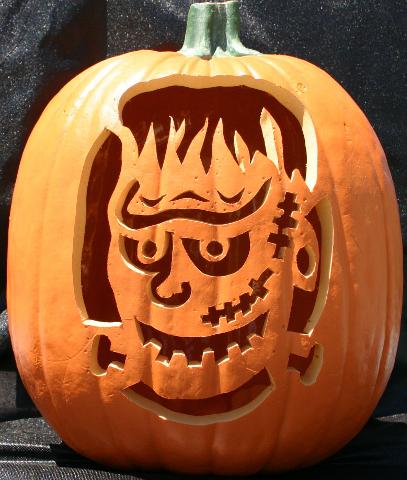
How to Carve an Artificial Pumpkin

When the Halloween season is around, it is quite natural to have a lot of pumpkins available everywhere so that they can carved and used. There are many growers who engage in the endeavour each year. However, some see it as a waste of food and unnecessary.
A solution to this problem is now available in the form of artificial pumpkins. These are also known as the funkins. The concept is quite simple as these are made from foam. They are available in many shapes and sizes and you can choose which ever one you like.
Unlike real pumpkins, they actually last for years and if you take good care for them, the same ones can be used over and over again. Carving it and getting it ready for Halloween is quite easy and needs some tools and a bit of concentration for you to be able to do it at home.
Thing Required:
– Artificial Pumpkin
– Hand Drill
– Small Carving Knife
– Goggles
– Face Mask
– Black Marker
Instructions
-
1
Decide the Shape
There are many shapes that can be made on a pumpkin. Decide which shape you like more before proceeding. Do keep in mind the size of the pumpkin that you have taken before deciding on the shape. Some experimentation can be done in this regard. -
2
Draw the Shape
Once the shape is decided upon, use a marker to draw the shape on the pumpkin. Make sure that you do a good job as the eventual results will depend greatly on how you draw the shape. -
3
Use the Drill
Take out the hand drill and starting from the middle, move towards the line. Take your time to make sure that the drilling is done accurately. There are no points for hurrying up so do it right even if it takes time. Try to carve along the lines to get a clean finish, though more finishing touches will be given when the main carving is finished. -
4
Finishing Touches
For finishing touches, first smooth the internal surface of the carved area with the help of the same drill. Make sure that you use the smoother sides and the sharper face for this purpose. Then you can use the carving knife to sharpen the edges of the carved areas to give it a great look.


