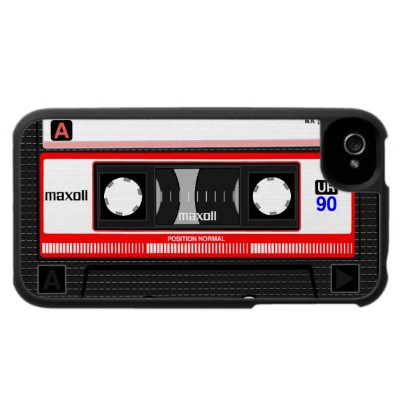
How to Convert Audio Cassettes to Mp3

With the recent developments in technology, users are continuously enjoying the luxurious facilities with even better qualities. If you have a marvellous collection of your songs in audio cassettes but now you want to shift these in mp3 format as you do not want to waste your resources and spend money on all of your collections once again, then converting these into mp3 is the best way for you. It may seem hard to you but with a little guidance, you can easily convert your collection from audio cassettes to mp3.
Instructions
-
1
First, you must make sure that all your audio cassettes are in working condition. For this, you will have to play them one by one. It is important that you test all your audio cassettes otherwise your efforts for converting that particular audio cassettes in mp3 will go in vain.
-
2
Now you must make sure that you have a perfectly working audio cassette player.
-
3
After checking both things, you should insert the audio cassette into the cassette player that you wish to convert to mp3. After inserting the cassette; you must attach your cassette player to your computer.
-
4
To connect your cassette player to the computer, you must have a wire of 1/8 inch plug on both sides. You must screw one end of the wire into the port named as ‘Line In’ on your computer and insert the other end of the same wire into the ‘Line Out’ port at the back of your cassette player. After doing this, your cassette player will be connected to your computer and should be able to work properly.
-
5
Now you must save a copy of GoldWave from the internet to a location of your choice in your computer. You can do this by opening your web browser and typing the name of software in your search engine.
-
6
After the download is complete, you must install the application into your own computer and open the program.
-
7
When the program is opened, you must click on ’New’ at the top left corner of the application and from the drop down menu, choose the time length and quality of the file to be converted. It is up to you whether you want to keep it as a one file or not.
-
8
After this, click on the ‘Record’ button and save the file after conversion is complete. Do not forget to rename the file after conversion is complete.


