How to Create a Financial Report in Excel

Microsoft Excel is a powerful program which allows users to create and maintain crucial information related to their businesses. Financial statements are the essence of any company and Excel helps you manage that crucial data, which can further be presented to all investors, stake holders and any other concerned party. Excel makes it easy to manage, report, present and perform calculations on large sets of data and information. If you are looking to create a financial report in Excel then there are a few guidelines that you can follow to help you get started.
Instructions
-
1
Start by gathering all the financial information about your company. This will include all statements which you will be entering into your Excel sheet. Make sure that you go about this in an organised way as there will be a ton of data on each particular set of financial headings that will be covered in your report. Also, make sure that all the data is of the same format or you will end up having to reformat most of the information which can take a long time.
-
2
To make things easier, the best option is to download a financial statement template. This will be available at the Microsoft office website. This will allow you to carry out all necessary calculations related to your income and expenses or to further customise them according to your needs. These templates are very useful but just make sure that the one you use is similar to the type that you actually need or you will find yourself fixing columns and rows to get it to look and function properly.
However, you can also create a template of your own but that could possibly lead to misrepresentation of numbers. Choose the template which best fits your need. These will automatically calculate the final values based on the information you have entered. Download the template and load it into your Excel program. Enter the name of your company by editing the placeholder. -
3
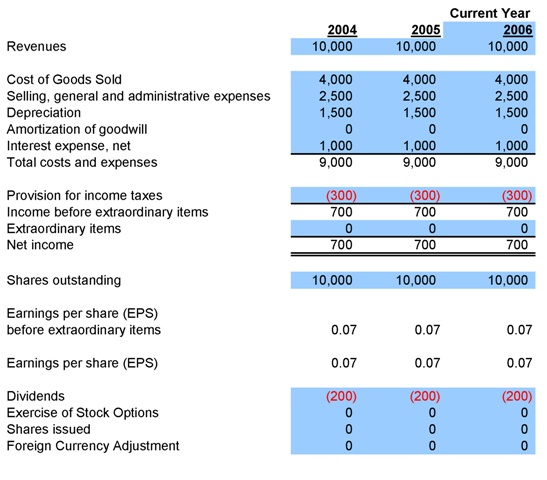
Now enter the desired information. This will include all revenues, expenses, costs etc. You can further separate each heading in the form of operating or non-operating etc. The template will then automatically verify and update the information you have just entered. The formulas in the template will do most of the work for you. Make sure you name each category properly. Be sure to check the formulas before you start putting all of the data in the worksheets. Check after a few data sets that the calculations are accurate.
-
4
The only thing left is to save your work. If you haven’t done it earlier, then simply click the office button on the Excel spreadsheet and click 'Save As'. Name the document according to your preference.


