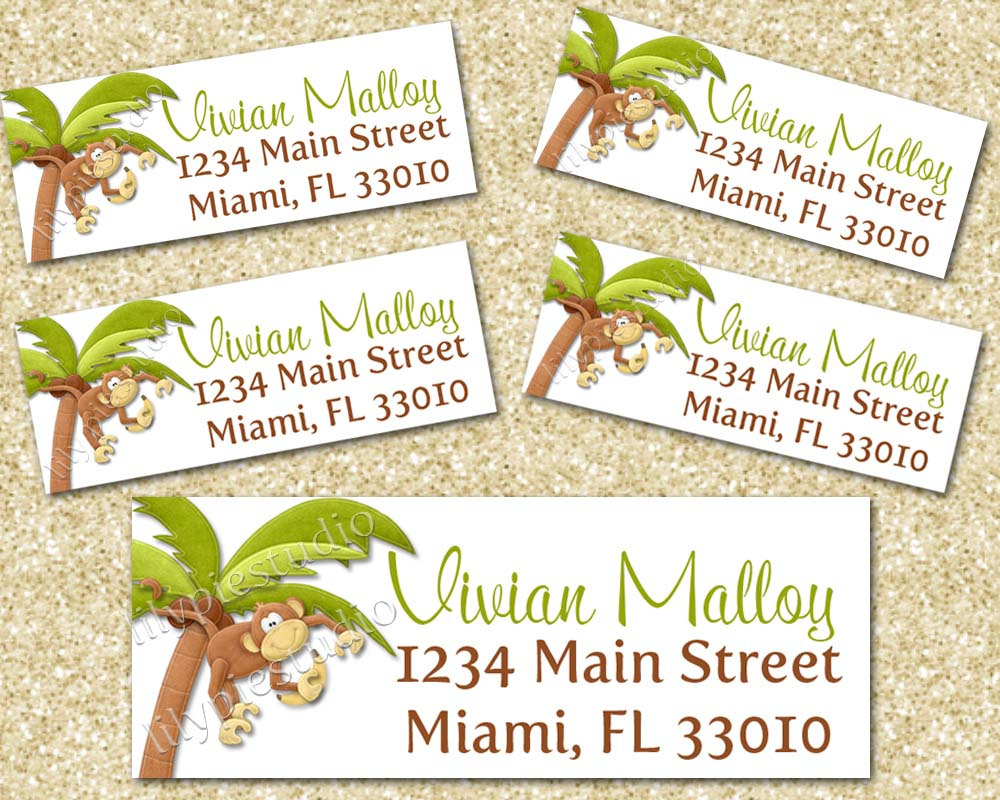
How to Create & Print Return Address Labels

Return address labels make it easy for the clients and customers to send a reply, without creating a new envelope at all. To create the return labels, you can hire services of a professional, who may ask you to pay handsome amount of money. On the other hand, you can also make it yourself, using different software program available in the market. Many software programs offer templates to create the labels, and Adobe Pagemaker is one of them. You just need to select the label design and edit the content, to create your own return address labels with ease.
Instructions
-
1
Open the Adobe Pagemaker program by double clicking its icon. You can find the icon on your desktop or in the “Start” menu. Right after the program starts, you will see a template menu on your screen. Click the “Labels” button, to open the label templates. If the template section does not show up on start up, then you can make it appear by opening the “Window” menu and selecting the "Plug-in Palettes". Then click the “Show Scripts” option, and select “Templates”.
-
2
You will now see a huge list of label template on your screen. Go through them and select the one you like the most. Right after you select the template, the program may ask you to install the required font type, which will be used by the particular design. In case, you just like the design, not the font, then you can skip the installation step, as you can change it later when you will edit the text.
-
3
In the text field, enter the text for the return address label and then click the “T” icon, to change the font type and size. Just highlight the text and select the font and size which you want to use on the selected template.
-
4
Now you can also add a picture for your return address label. It is not necessary, but you can leave a better impression on your client by adding one. Go to “File” menu and select “Place”. You will now be asked to locate the image file which you want to use at the graphic section of the label. Select and click “OK”.
-
5
After you are finished with editing, you can select “Print” from the “File” menu, and select the printer which you want to use for printing purpose. Select page size and other alignment settings and click the “Print” button.


