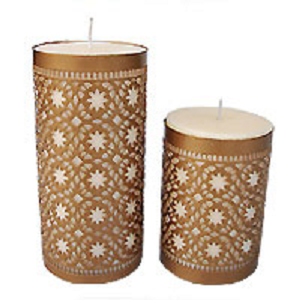
How to Customize Candles With Wax Designs

Candles have previously been used as a source of light in the evening hours. Very few of us know who invented these and how were they used. Romans and Egyptians are known to bring candles to used and the wick candle was created by the Romans. Presently the candles are used to decorate rooms, set a romantic dinner table or for their scent. They give a relaxing and romantic effect to the room. Candles can be created at home from scratch and decorated just the way we want them. You just need a few tools and a little skill and you will be able to create beautiful candles.
Things required:
– Paraffin candle wax
– Old cooking pots (two larger to create double burners): 4
– Water
– Pigment dye in two different colors per pound of candle wax: 1 oz.
– Stove or burner
– Kitchen thermometer
– Metal pillar mold
– Candle wick
– Wick screw
– Screwdriver
– Scissors
– Chopstick
– Mold sealer putty
– Water bath in large stock pot
– Tongs
– Clip
– Engraving tools
Instructions
-
1
Fill one-third water in the large cooking pot and put the small pot inside the large pot. Put these pots on low heat, a double boiler would be created and your wax will melt safely. For the other two pots, make the same double boiler. Fill both the boilers with paraffin wax; it should be 2 inches below the top. Next, a different pigment should be added to both the pots
-
2
The wax will melt slowly in the first double boiler. After it has melted, the temperature should be adjusted so that it gets to 175 degrees. Check it on the thermometer. From the hole of the candle mold, pass the wick. Tie the other end of the wick to the chopstick by turning the candle mold around. The wick should be secured with the wick screw. The wick should be taut and sealer putty should be placed over the screw. After the correct temperature has been reached, put the wax into the mould. Some of the melted wax should keep remaining in the pot.
-
3
Let the candle cool by poking some holes in it. Reheat the remaining wax in the pot to 175 degrees and put it in the holes. After the candle has cooled, the mold sealer and screw should be removed as this will allow you to remove the pillar candle.
-
4
Now heat the other color of wax and let the temperature stable to 155 degrees. Dip the pillar candle into the colored wax and hold the wick by using the tongs. After this the candle should be dipped in the water bath immediately.
-
5
With the help of the engraving tools, trim off the excess wax and carve any sort of design you want. You could make lines or swirls as this will also show some color which is underneath.


