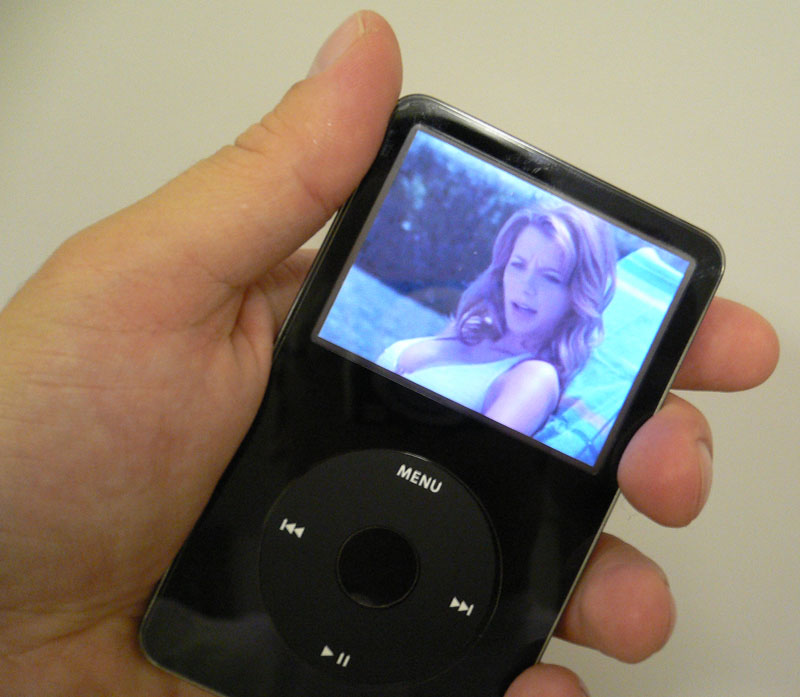
How to Delete Songs From an iPod Video

A lot of new iPod video users fall under the impression that there is no way for them to remove songs from their Apple music and video device. They can hardly be blamed for thinking this, as there really is no option available on an iPod video for deleting a song. However, Apple has not overlooked the importance of giving users the option to delete a song from the music and video device. However, this option is available only through the iTunes software, which every iPod user is expected to have on his computer. The process of deleting a song from an iPod video may initially come off as a very complicated one, but in actual, it is very simple and really easy to get the hang of.
Instructions
-
1
The first thing that you need to do is to ensure that you have the latest version of iTunes installed on your system. If you do not have iTunes installed on your computer at all, visit the official website of Apple and download it from there. If you already have the software installed on your system, but the version is old, you will simply be required to update it to the newer version. In both cases, you will need to have an active Internet connection on your computer.
-
2
Once you have the updated version of iTunes on your computer, launch it by clicking the iTunes icon located on the desktop. If it is not there, you will definitely be able to launch the software by clicking the “Start” menu button at the bottom-left of the screen, moving the mouse cursor on “All Programs” and then selecting “iTunes” from the new menu that slides open.
-
3
After the iTunes is successfully launched, locate the “Music” menu, which will be just below the “Library” bar. The “Music” menu will typically be located on the upper left-hand corner of the iTunes window.
-
4
In the “Music” menu, find the song that you want to delete by scrolling down the list of media content.
-
5
Once you locate the song or songs that you want to delete, left click them to highlight them and then right click to open the sub-menu. From the sub-menu, select the “Delete” option to delete them for good.
-
6
Connect your iPod video to the computer using the USB data cable that came with it. Plug one end of the cable to the Apple music device and the other end to the USB port on the computer.
-
7
In the “Devices” section on the iTunes window, you will see an iPod symbol. Click it to open a window that would allow you to make adjustments to your iPod video settings.
-
8
Locate the “Music” tab on the new window. Click the tab.
-
9
Look for the square labelled “Sync Music” and a circle labelled “All songs and playlists”. Ensure that both the square and the circle are checked.
-
10
Click the “Sync” button, which is located in the bottom-right corner of the iTunes window. Wait a few seconds, or minutes depending on your system speed and the size of your playlist, for the process to finish.
-
11
Once the process is finished, click the eject button that is located right next to the iPod symbol in the iTunes library and detach your Apple music device from the computer. The song or songs that you had deleted from iTunes library would be gone from your iPod as well.


