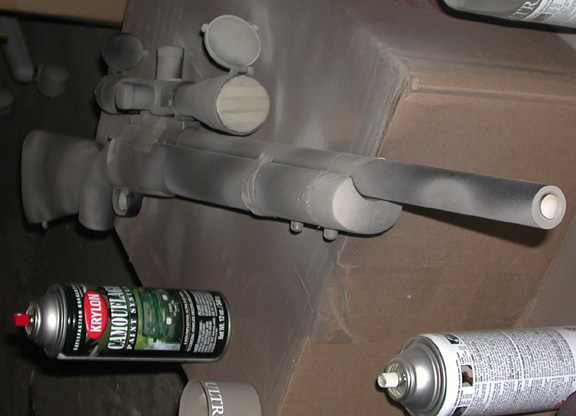
How to Do Camo Spray Paint

Camouflage paint is one of the most popular paint jobs on practically any surface in the world. Whether one wants to do it for the armed forces on military vehicles and equipment or on a bedroom wall, vehicle or toy weapon.
Many may think that the complex design requires a high level of skill or expertise but that is not the case as one can make due with a number of household items.
Things Required:
– stencil of random shapes
– a large leaf or small branch
– three to five different colours of spray-paint.
– a mask for protection
– sandpaper
– composite
Instructions
-
1
The first step would be to sand the existing paint and rust off the surface. The rust only comes into play if the surface is metal. Use the sandpaper or an industrial power sander to get the job done. Remember you want to create a rough surface for the composite. Make sure that you do a thorough job to get all the rust off.
-
2
Next, once the surface has been sanded down, it would be advisable to add a layer of composite. May sure that this is applied evenly, as the paint will be put on top of this. Leave this slightly rough by sanding it gently.
-
3
Apply the base coat. Here the user needs to use his or her creativity. The base coat will form the main colour of the surface and additional colours will be painted in patches on top. Olive Green, Tan or Black should be your three main choices. We recommend Tan or Olive Green ourselves. Make a proper plan as to how you want the final product to look like after painting.
-
4
With the entire surface covered in the base coat, begin adding various layers on top.
-
5
Use the leaf or branch as something to add patterns. Place it on top of the surface and spray paint over and around it. When you remove the branch, the area under it will not have any other paint but the base coat in the shape of a pattern.
-
6
Repeat the previous step in different areas with different colours. If anyone wants a reference then they need only see Mark Wahlberg’s ‘Shooter’ when he is camo-painting his sniper rifle. Its basically the same concept.
-
7
Allow each layer to dry before adding another layer on top.
-
8
Finally, apply a layer of clear coat paint to lock everything in place. Make sure the clear coat goes on nice and evenly.


