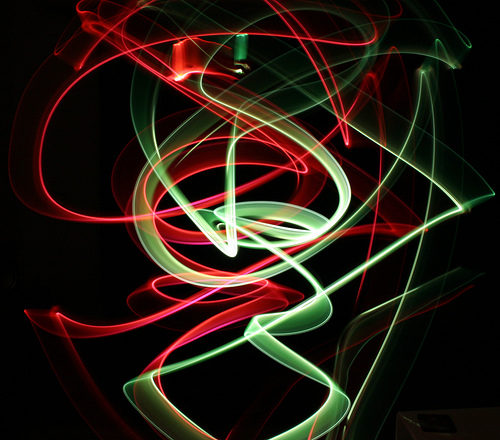
How to Do Glow Stick Photography

Glow stick photography can be described as “painting the air with light” and then capturing the neon-infused designs using a digital camera.
When the glow sticks are moved through the air in a dark setting, it leaves a trail of light behind, which fades within a matter of seconds. A digital camera can capture this trail before it fades and present it in a form of beautiful art.
Glow stick photography is easy to get the hang of. However, in order to get best results, one needs to have a decent amount of knowledge and understanding of digital cameras and their various features.
Things Required:
– Digital camera
– Glow sticks
– A helper
– Tripod
– Dark room
Instructions
-
1
Disable the flash on your camera and lower its ISO, i.e. the level of sensitivity that it has to available light. While taking photographs in dark settings, having a low ISO will keep the images from appearing grainy or heavily pixelated. Set the ISO to 200 or lower if you are using an SLR camera.
-
2
To prepare your camera even further for photography in dark settings, set it to a low aperture number in order to allow more light to get in. If you are using an SLR camera, set the aperture number to f8. In case the setting that you are working in is not completely dark and there is some light coming through the window, set the aperture to a relatively higher number to restrict the amount of light that gets in. For an SLR camera, f16 should prove to be appropriate.
-
3
Adjust the shutter speed on your digital camera to slow. If you are using an SLR camera, setting the shutter speed to 5-30 seconds should be appropriate. The slow shutter speed will allow you to capture longer trails of light.
-
4
Use a tripod to secure your camera in position. This is important because when the shutter speed is set to slow, the chances of getting a blurry image is increased significantly. A tripod, however, keeps the camera stable and therefore prevents the image from getting blurred.
-
5
Ask your helper or assistant to activate the glow sticks by snapping them, which basically makes the chemicals inside them to mix and consequently create a glowing effect.
-
6
Instruct the helper to start waving the glow sticks through the air. Simultaneously, start the camera’s exposure process.
-
7
The trail left by the glow sticks will be permanently captured by the camera’s long exposure. You will consequently see a beautiful illusion of a colourful painting on a canvas that is nothing but thin air.


