How to Edit an Image with GIMP Freeware

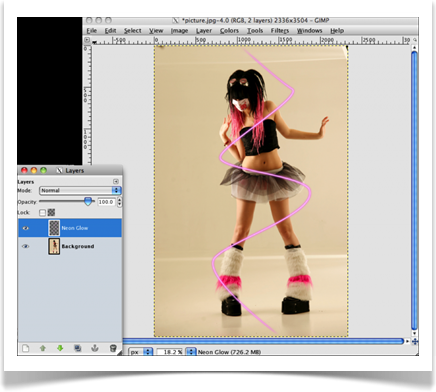
Adding special effects to photographs makes them look even better. Adobe Photoshop is no doubt the most common photo editing software used all over the world by professionals and the hobbyists alike. However, Adobe Photoshop is expensive to purchase and not all of us can afford to buy it. There are also other very efficient software available on the internet absolutely free of cost. GIMP is one of the other most popular freeware, having pretty much the same features as Photoshop and no cost to pay for. You can also use GIMP to create animations as well.
Instructions
-
1
Begin with clicking on the ‘File’ button and then ‘Open’ tab to select the image you desire to edit. You will two windows on your computer screen, one is the picture window and the other one is the tool window to select the commands.
-
2
You can chose image files of many formats, EPS, TIFF, JPEG, RAW, NEF and Photoshop formats for instance, within GIMP freeware.
-
3
You can choose the editing tools from the separate window, while your image is opened in another window, to allow you flexibility in arranging your desktop. The editing options are pretty much similar to Photoshop.
-
4
The ‘Rectangle Select’ tool can be used to crop the portions of the image accordingly. Go to ‘Image’ tab and select ‘Crop to Selection’ option to crop the desired part of the picture. You can undo the cropping by clicking the ‘Undo’ button from ‘Edit’ menu.
-
5
Adding text to your images is also pretty similar to Photoshop. Simply click on the ‘Text Tool’ present in the toolbar window. Click on the spot where you want to insert the text and a dialog box will appear to type in the text.
-
6
Once you have inserted the text within the image, you can alter font, colour and other text attributes from the text editing menu. You can find these options in the properties panel present in the tool’s menu. When you have entered the text, you will have to hit the ‘Close’ button and the text will appear in the image.
-
7
If you feel removing the text from your image afterwards, you can use the selecting tool for this purpose. When fully satisfied with the editing of your image, save the file in your computer by clicking ‘Save As’ button in ‘File’ menu.


