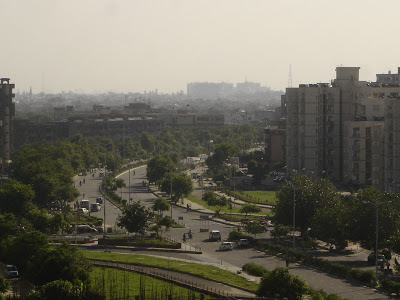
How to Fix Flat Contrast Photograph Using Adobe Photoshop

Adobe Photoshop is a great image editing software program which allows its users to adjust brightness and contrast of any image, and punch up the image.
Many times it happens that you capture a beautiful scene and end up with a picture with a flat contrast. In such cases, it becomes really essential to adjust the contrast in order to give the picture a more appealing effect.
In order to adjust contrast in a picture, it is also important that you should first adjust the brightness of the image you are editing. The process of fixing flat contrast in a photograph is really easy, provided that you know that basics of using Adobe Photoshop.
Instructions
-
1
Launch Adobe Photoshop program by double clicking on its icon on the desktop. If you have not created a desktop icon for Adobe Photoshop, then you can go to “Start” menu and move your mouse over “Programs” section. From the list of programs installed in your computer, locate Adobe Photoshop and run the application.
-
2
The program will take some time to start, depending on your computer’s processor speed. After the program is loaded, go to the “File” menu and select the “Open” option. A new window will appear on your screen, asking you about the location of the file you want to apply the flat contrast fix to. Select the file and click the “Open” button.
-
3
After the image is opened in the program window, go to the main menu tab and click on “Image”. Now you need to move your cursor over the “Adjust” option, and select “Brightness-Contrast”. This will open a new window on your screen, which you can use to adjust the brightness and contrast of your image.
-
4
First, you need to adjust the brightness of the image. Use the brightness slider to adjust the brightness, as per your needs. Here, you will notice that the image will lose some punch after the brightness is increased.
-
5
After you are done with increasing the brightness for the image, you can adjust the contrast in the same direction. The contrast image will add back the punch which you lost while adding brightness to the image.
-
6
Once you are done with fixing the flat contrast, you can save the image by going to the “File” menu and selecting “Save As”. Specify a location and click the “Save” button, to save the file on your hard drive.


