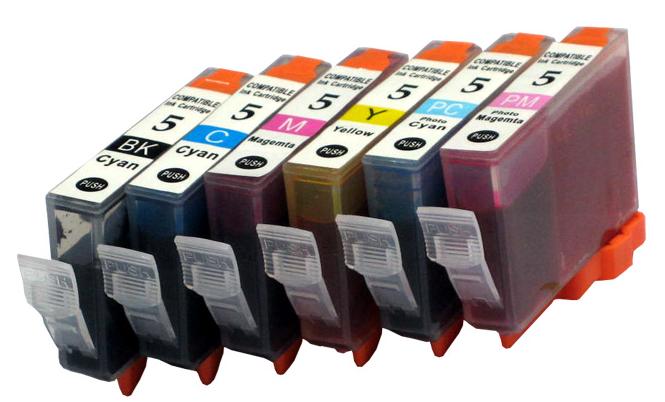
How to Fix HP Printer Cartridges

Ink cartridges may stop working after a certain period of time. Instead of throwing them away you can recycle the cartridges. This will save your money in buying a new one and the cartridge’s life will also extend. You need to check and examine that the ink cartridge can still work before trying to fix it.
Things Required:
– Paper Towel
– Cotton swabs
– Warm water
– Flashlight
Instructions
-
1
Check the strip
First of all you need to check the strip on the ink cartridge. The strip is attached on the ink cartridge in order to guard the nozzle. Take out the ink cartridge by opening the lid and then check whether it is completely removed. If so, then take a paper towel and dampen it. Use it to blot the ink cartridge before re-installing it in the HP printer. -
2
Print a test page
After applying a dampened paper towel the ink cartridges still work in the similar way or the printing is very light then go to the printer’s software. You need to print a test page and you can do this by going to the ‘Properties’ tab and then click on the ‘maintenance’ or ‘services’. You need to follow the instructions written in order to print a test page. -
3
Print multicoloured pages
In case your printing misses one colour then you need to print out few multicoloured pages. The reason behind this is that the colours may not have mixed with each other properly. You can refill your ink or get a new ink cartridge in that colour. -
4
Apply cotton swabs
You need to clean your printer in order to improve its quality. Get cotton swab and pat in warm water. Place the ink cartridges in the middle after lifting them up. Then apply cotton swabs on square rubber pieces. Remember that you might need a flashlight in order to clean the rubber pieces. -
5
Apply damp paper towel
You need to remove dirt which is found under the carriage. You can do this by taking paper towel, damping it and then applying on that area.


