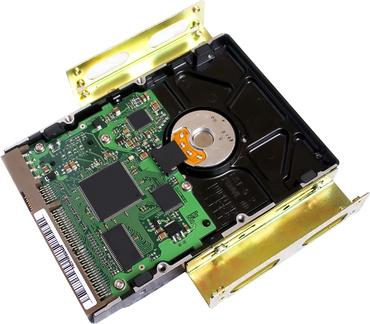
How to Format a Hard Drive in XP

You may find yourself in need of formatting a hard drive in Windows XP for a number of reasons. For instance, the hard drive needs to be formatted if the file system gets corrupt or you no longer need the files. The formatting option also comes in handy if you intend to delete a large number of files easily. Formatting a hard drive in XP is very easy and takes just a few minutes.
Instructions
-
1
Login to Windows XP using an administrator account as this will allow you to format the hard drive. Remember you must have administrator access in order to format your hard drive.
-
2
Open ‘My Computer’ and choose a hard drive to format. Remember that you will not be able to format the drive on which the operating system is installed. This is because files on that drive are constantly being by the Windows XP operating system.
-
3
Right click the thumbnail image of the hard drive you want to format and click ‘Format’ from the list menu.
-
4
XP will pop up a dialogue box where you can choose the format parameters such as the file system and the speed at which you would like the hard drive to be formatted. At this point, you can also make changes to the hard drive label if required.
-
5
Click the button labelled ‘Start’ to commence the formatting process. The time required to format the drive will largely depend on the total disk space being used and the size of the drive.
-
6
An alternate method to format a hard drive in XP is to click the ‘Start’ button and then click ‘Run’. Type ‘cmd’ without the quotation marks in the dialogue box which appears and then click ‘OK’.
-
7
This will open the command prompt window. Type ‘format [Hard drive letter]:’ without the quotes and press ‘Enter’. Wait for the formatting process to finish.
-
8
If you plan to quick format a drive using the command prompt method, use ‘format [Hard drive letter]: /Q’ without the quote marks and then press ‘Enter’.


