How to Get Pictures on Your IPod

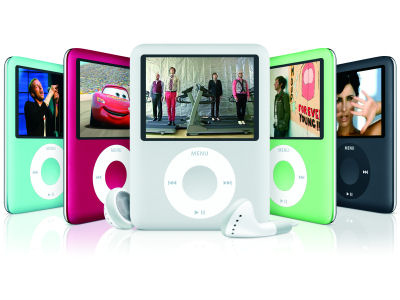
Apple set a new standard with the iPod, changing the way music lovers store, carry and listen to the music they love forever. Instead of just stopping here, a company renowned for its focus on innovation continued to improve the music device, adding new features to it and thus making it into something that could far more than just play music.
One of the many things that an iPod allows you to do is to view pictures. Transferring pictures from the computer to the Apple music device is very simple and can be done in a matter of minutes.
Instructions
-
1
The first thing you need to do is to launch the web browser installed on your computer and open the Google search engine. Click the “Images” tab from the top-left corner and then type the topic of your interest in the search field. Press “Enter” after that.
-
2
The search results will be displayed in the form of thumbnails. Go through them and click the one that you like. Right click on the image and then select “Save As” from the context menu. Select the location where you want the image to be saved. It is recommended to save the image file to “My Picture.” Do the same for any other image file that you want to put in your iPod.
-
3
If the image file is in a PNG or Bitmap form, open it in “Microsoft Paint,” click “File,” click “Save As,” select “JPEG” from the “Save As Type” drop-down menu and then click “Save.” Repeat the process for any image file you saved that is not in the JPEG form.
-
4
Now that you have successfully saved the picture to your hard disk, connect your iPod to the computer using a USB data cable that came with your Apple device. Plug one end of the cable to the iPod and insert the other end into a USB slot on your computer.
-
5
Launch iTunes by clicking its icon typically located on the desktop.
-
6
Select your iPod from the scroll bar located at the right on the iTunes interface and then click on the “Photo” tab.
-
7
A box will appear on the screen, asking you to select the files that you want to transfer to your iPod. Click the image files that you want to put in your Apple music device. If you had saved the image files in “My Pictures,” they will appear automatically in the box, thus making it easier for you to make the selection.
-
8
Start the transfer process by clicking “Apply.” It may take a minute or two depending on the number and size of images that you are syncing.


