How to Hem Pants with a Sewing Machine

The ability to perform basic chores is very important. We can have small problems like a broken button on a shirt or damaged pants near the bottom. Professionals can take quite a bit of time and money to even fix these small issues and it is certainly not worth it.
The simple answer is to know how to put on new button and how the hem your pants. Hemming pants on a sewing machine though is a touch harder than hanging new buttons. It is quite easy nonetheless. You can do it with ease if you have a sewing machine.
Instructions
-
1
Cut Damaged Parts
If your pants are too long for your liking, they probably have some damage at the bottom part. You can cut of the damaged part, which will certainly not be more than a quarter of an inch. Make sure that you cut horizontally and in a straight line so that you do not damage the pants. -
2
Mark Length
Mark the length to which you wants to be tailored to. Mark it with a removable material so that you know where to hem the pants from without putting a permanent mark. -
3
Fold Them Accordingly
The next thing to do is to fold them according to the requirement and lay them flat on the sewing surface. Make sure that you do not have too much of a fold in as it can be comfortable for you. Ideally you will be hemming the pants about one inch on each side so cut off the excess part using the same technique that was explained earlier. -
4
Iron
Now that you are ready for hemming, iron the lower part of your pants while you have folded the pants a half inch inside for hemming. This will settle a good crease and you will not have any difficulty in hemming. Fold another half inch and repeat the process. Now the pants are ready to be hemmed. -
5
Sew
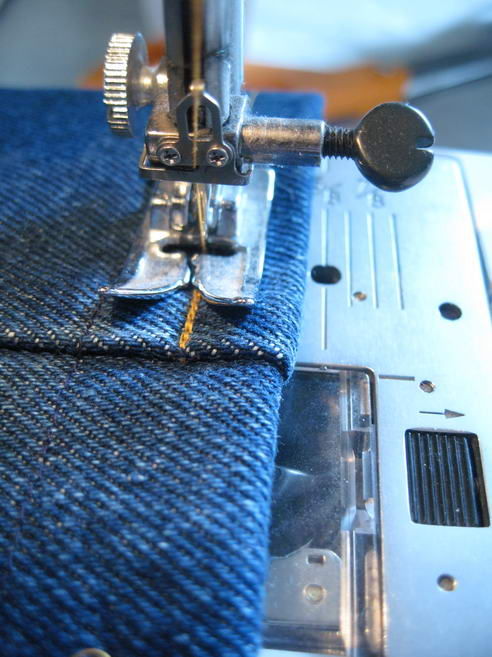
Once you have the pants in place, sew them straight and preferably with a 3/8 inch seam. Make sure that the sewing line does not go zig zag as it will give a bad look. Once done, cut away any loose threads that may be there.


