How to Install a Chair Rail Molding

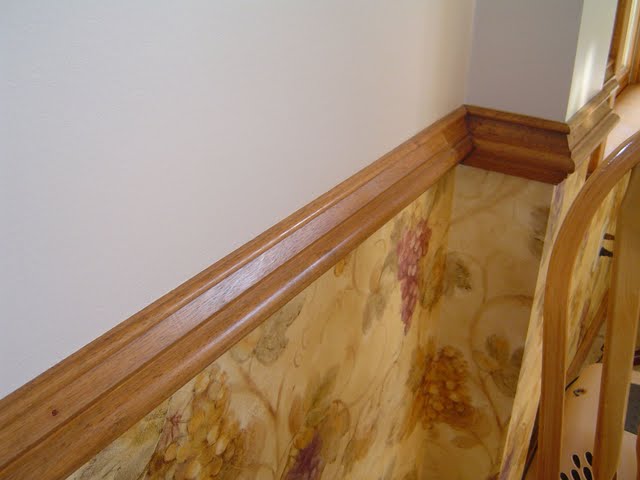
Kids, or even adults, often ram the chair into the back wall while getting out of it and this can cause serious damage to wall paint. The basic purpose of chair rail is to protect the walls from any hits of errant chairs but installing it further enhances the elegance of your home. It is not a task which requires professional assistance and everyone can install a chair rail by himself. You will require some simple tools and a helper to assist you in different phases of the job.
Things Required:
– Molding
– Finishing nails
– Hammer
– Nail set
– Putty
– Sandpaper
– Miter box
– Wood saw
– Carpenter’s level
– Measuring tape
– Stud finder
Instructions
-
1
You need to select a suitable molding for your wall first. Choose a relatively flat but elegant one. Mind you this molding will also serve to decorate your walls and it should be a nice looking one.
-
2
Next comes the most important factor in the procedure; determining the height of the chair rail. You have to look for some factors, like the height of your chairs, windows in the room or any other sort of panelling already existing in the walls.
-
3
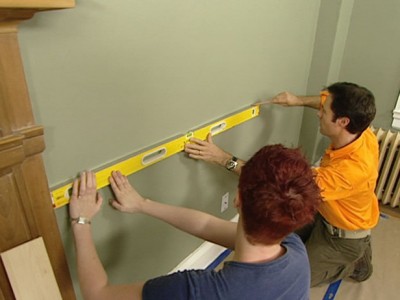
Once you have determined the height of the rail, use a chalk or paper tape to mark it onto the wall. Normally, 30 to 36 inches chair rails are installed but as told earlier, you have to adjust the height of it according to your needs.
Image Courtesy: diynetwork.com
-
4
You have to cut the molding in appropriate lengths. For turning around corners, especially a 90-degree one, you have to use a miter box to cut the molding with appropriate angles at the ends. You have to precise in measuring the length of the chair rail you are cutting.
-
5
Paint or polish up the molding pieces before you install them on your wall. You also need to paint or paper or even panel the portion of the wall where you desire to install the rail.
-
6
Next you have to locate the studs existing in the wall. This can be done by an electronic stud finder and you mark the stud points with a pencil.
-
7
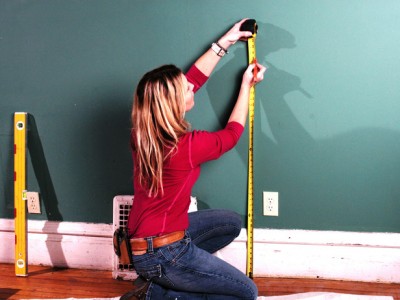
Use a measuring tape to make several markings on the wall, determining the distance from the floor to the height where the chair rail has to pass. Ask your assistant to hold the molding pieces on the wall on those markings and see if they are perfectly horizontal.
Image Courtesy: diynetwork.com
-
8
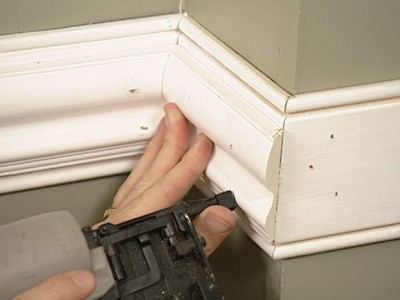
Drive the finishing nails through the points which you marked for studs and affix the molding to the wall.
Image Courtesy: homedepot.ca
-
9
Countersink all the nails using a nail set and fill them up with putty. Cover up the putty with paint.
Image Courtesy: diynetwork.com


