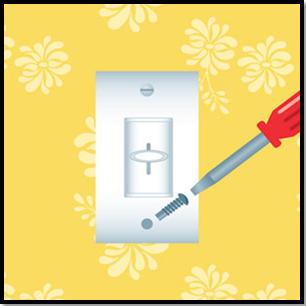
How to Install a Dimmer Switch
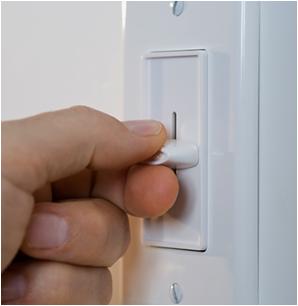
Transforming the overall look of your rooms is amazingly easy task as you just have to install a dimmer switch for this purpose. The dimmer switch decreases the glare of some light fixtures, making your lights last longer and cutting down your electricity bills. Therefore, do not waste time and replace your traditional wall switch with a dimmer switch, so that you can customize the level of your room’s lighting they way you want.
You can find wide range of dimmer switches in the market. The ones with slide, dial and toggle models are the most popular among customers. You will find the dimmer switches in two basic wiring configurations – i.e standard single-pole dimmers (a single switch controls a light) and three-way dimmers (control a light with two switches).
Things Required:
– Flat-head screwdriver
– Head screwdriver
– Electrical tape
– Needle-nose pliers
– Wire stripper
– Red wire nuts
– Dimmer switch
– Matching cover plate
Instructions
-
1
Turn off the power
Turn off the main switch at the breaker. Now confirm that the power is off by flipping any of the switches on and off.
-
2
Remove the cover
Loosen the two screws of the existing switch, take them out and place aside.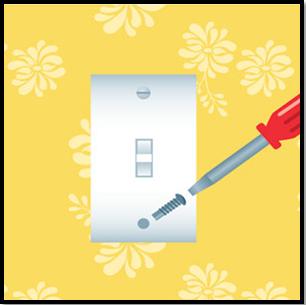
-
3
Remove the switch
Cautiously pull the switch away from the wall and set aside. The visible wires should resemble the image given on your right hand side.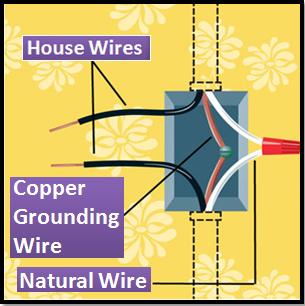
-
4
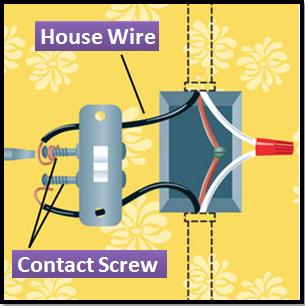
Wire the dimmer for screw contacts
Use needle-nose pliers to smooth down the ends of the house wire. Now slacken a contact screw and gently wrap its exposed ends around the ends of a house wire, clock-wising around its shank. Fasten the screw’s head in order to secure the wire in place.
-
5
Wire the dimmer for pigtails
Flatten the ends of the house wires, using needle-nose pliers, and align one of the black house wires with the help of a pigtail wire. Now use pliers to twirl them clockwise, at least two times. Set a red wire nut over the connected wires and curl them clockwise until it is tight.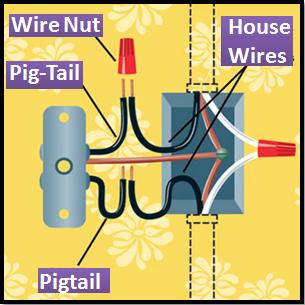
-
6
Attach the switch
Fold up the wires into a zigzag pattern and place the new Dimmer Switch into the switch-box.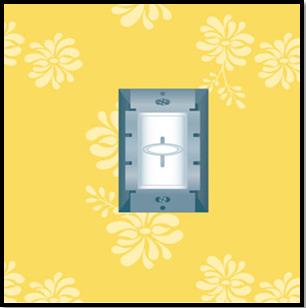
-
7
Install the switch’s cover
Use a flat-head screwdriver to set up the new cover plate. Flip the main electrical-panel switch back on its position, turn on the main switch and check your dimmer switch. Congrats, you have successfully installed dimmer switch.
