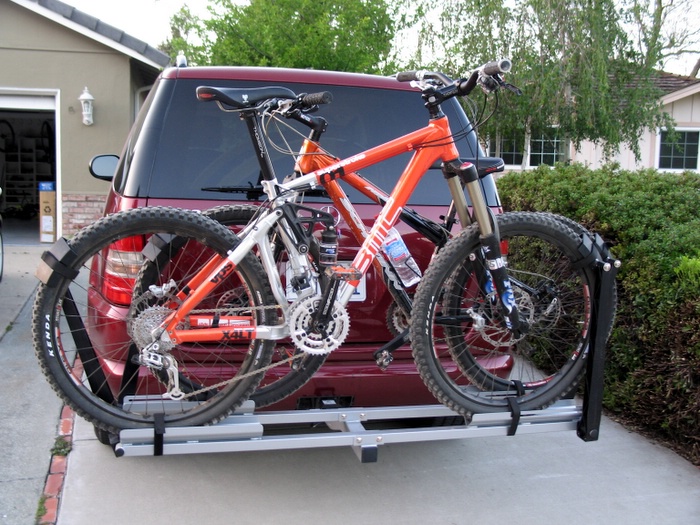
How to Install a Hitch for a Bike Rack

If you are planning to travel to a distant location, where you will practice bike riding, then you will have to mount your bike on your vehicle. Now, if you have a stand at the top of your vehicle, then you can place your bike up there, while tying it up tightly. If you do not have a stand, then you may need to install a trailer hitch for a hitch-mounted bike rack, as it is known as one of the best methods to mount a bike with the vehicles.
Instructions
-
1
Purchase a hitch that suits your vehicle, as not all the vehicles accommodate all types of hitches, especially the small vehicles. Therefore, it is really important that you should purchase a hitch that can be attached to your vehicle easily.
-
2
Use jack to lift up the rear of the vehicle and apply jack stands on both sides of the rear frame, and take the jack out from under the vehicle.
-
3
Now assemble the hitch. Different hitches require different process for assembling process, due to variations in pins, cross, draw-bar and clips. Therefore, you should follow the instructions manual that came with your hitch and assemble it properly. After you are done with assembling, hold the hitch and check if it can fit at the rear frame of your vehicle.
-
4
Use C-clamp to clamp the hitch at the centre of the frame. Now you can check underneath your rear frame, in order to check the spots where you can drill the holes, which you will have to use for mounting the hitch. Make sure you use your hitch as a template to mark the exact points where you will drill the holes.
-
5
Wear protection glasses and slide under the back of the vehicle, and drill the required holes. Make sure you use bit that is 1/16 larger in diameter than the diameter of the bolts that you will use to mount the hitch with the rear frame.
-
6
Now set the hitch and insert the bolts in the frame. Now use socket wrench to screw the bolts down tightly. You can now slide your bike rack into the hitch and do not forget to lock it in place.


