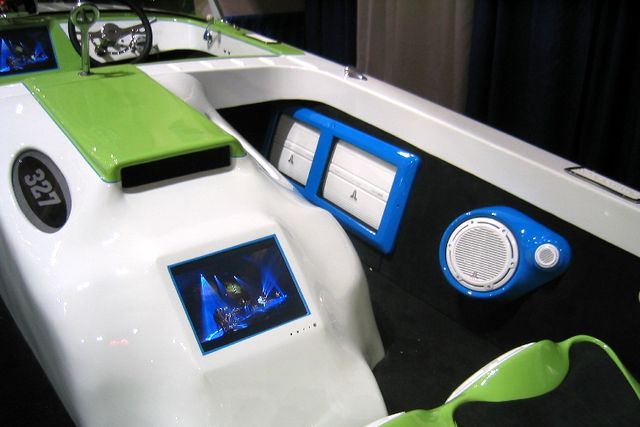
How to Install a Marine Audio System

Many believe that installing a marine audio system is the same as of installing a car audio system. However, there is a significant difference between the two.
One of the most important aspects of a marine audio system is its water resistance. One can reduce the factor of direct exposure of water by installing the system in a relatively safer place. However, one cannot take out the humidity, wind, corrosion, salt, chlorine and sun factor out of the equation. In order to prolong your audio system’s life, one must purchase a water resistant audio system.
Design of the audio system is another important feature of the marine audio system, as it will eventually determine the quality output of your system’s sound.
One can comfortably install the audio system him/herself. However, in order to have a more professional look and sound, one must keep some important points in mind while installing the system.
Things Required:
– RCA Cables
– Circuit Breakers
– Power And Ground Cable
– Terminals
– XTC Baffle
– C-clamps
– Phillips Screwdrivers
– Saws
– Drill Bits
– Fuses
– Multiuse Screws
– Silicone
– Solder
– Soldering Guns/irons
– Speaker Wire
– Variable-speed Drills
– Wire Crimpers
Instructions
-
1
Thoroughly read the instructions manual that come along with all of your purchased equipments, as it will eventually help you installing the components easily and perfectly. In addition, manuals will also help you connecting all the apparatus safely.
-
2
Now pull the power, and ground it directly from the second battery.
-
3
After pulling power, solder all of the wire connections. Use stainless steel screws and silicone to mount all the equipment safely. Stainless steel and silicone is corrosion resistant, and it will last longer than usual.
-
4
Afterwards, mount the speakers directly to the wood deck of your boat. It is recommended that one uses an XTC baffle behind the speakers to provide the speakers proper air environment. Do not forget to put silicone on the speakers grill in order to secure their mounting.
-
5
Routing all wires cleanly will be a bit of a problem, but one must ensure that it is done perfectly. It is recommended that one put all the signal wires at one side of the boat and the power cables on the other side in order to have a clean routing of the wires. Tie together all the wires neatly by using a tie wrap, and put them under the panels with the help of C-clamps. Power it up, and your boat is now ready to rock.


