How to Install a Roman Shade

Roman shades can prove to be a great addition to a room if used aesthetically. They have an interesting style of their own and also provide privacy at the same time. You can brighten up any room especially areas like the kitchen and sun room by installing a roman shade there. It will not take more than a couple of hours and asks for just a few basic tools and the shade itself. Put your creativity to use and buy a shade that enhances the theme of your room. We take the responsibility of the ease of installation in our step by step guide below.
Things Required:
– Screwdriver
– Measuring tape
– Level
– Pencil
Instructions
-
1
Inside or outside mount:
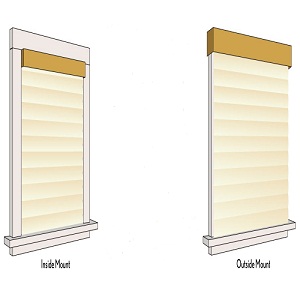
As the names suggest, a Roman shade can be installed inside the frame of the window and also on the outside. To install the shade inside, there should be enough room in the frame to accommodate the shade. Outside mount can be right above the window and on the ceiling when there is very little space between the ceiling and the window frame.
-
2
Outside mount:
Roman shades come with their own two brackets for outside mount. Decide whether you want to install shades just above the window or on the ceiling. Lift up and hold the shade to the place you have selected to install it. check for length and width measurements.
Hold up the two brackets to the wall and mark the points where you will install the. Use a level to ensure that both the brackets are even with each other. Drill a pilot hole and then install the brackets suing the screws that came with them. Both brackets should be perfectly aligned with each other.
-
3
Inside mount:
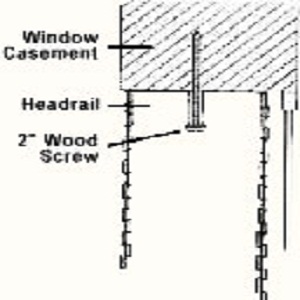
Inner mount shades are held by wood screws, one at each end and two in the middle, equally spaced. Draw the screws into the upper window frame.
-
4
Install shades:
Now that the brackets and screws are installed. the rest is pretty simple. Attach the shades to the brackets and screws. They will just snap into place and give off the perfect look.


