How to Install a Storm Window

Storm windows not only provide an extra barrier of security but also reduce your heating and cooling bills by acting as an insulating layer. Storm windows do a great job of protection against wind drafts. They do this without altering your existing window and enhancing its look. Storm windows come in different sizes, styles and in a package of a whole kit that makes installation very easy. These windows can be both installed on the interior and exterior side of the house. The installation process is made really easy with our step by step guide below.
Things required:
– Measuring Tape
– Caulking
– Pencil or Pen and Paper
– Screws (if not included)
– Drill
– Storm window kit
Instructions
-
1
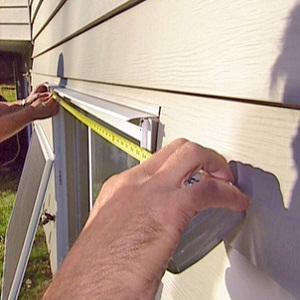
Measurement:
You need accurate measurements for the new window. The best way is to take measurement of the existing window instead of the frame. Take measurements from the top, bottom, left, right and corners of the window. Make a sketch of the window on a paper with all the dimensions to take with you to the hardware store.
You have to decide about whether you want interior windows or exterior ones. Exterior windows wear out soon because they are exposed to sun and rain and all weather conditions and have to be changed on yearly basis. Interior ones survive well over the years depending on maintenance.

-
2
Install window frame:
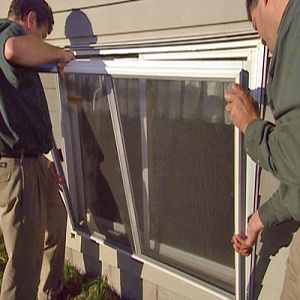
Buy a storm window according to your measurements. Typically storm windows come in a unit that consists of a frame and the window itself. You have to install the frame first before installing the window. If the frame has pre-drilled holes, than just use them to screw the frame. If it does not, than use a drill bit to make the holes.
Make sure you have a secure foot while climbing a ladder for the work to prevent any accidents.
-
3
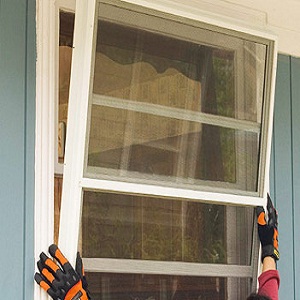
Install window:
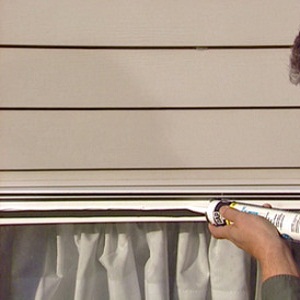
Fit the window inside the frame using the screws. To cover up any gaps, apply caulk around the frame. Test the window for any loose touches which could be filled up with caulk.


