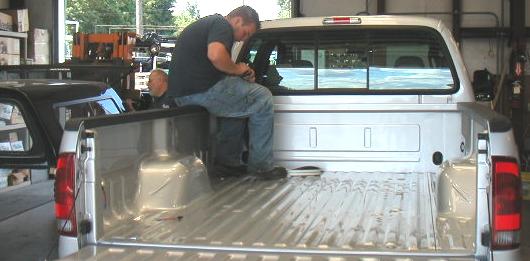
How to Install a Truck Canopy

Instructions
-
1
To avoid damage to the truck canopy, spread a blanket onto the ground and put the canopy on it. Turn the canopy over and place it with the roof lying on the blanket. An extra pair of hands will be very useful in this step.
-
2
You do not want water to seep into the truck through the canopy. So you need to apply adhesive material all around the body of the truck. The adhesive waterproofing that you are using, must not have any air bubbles or weak areas so make sure that you stick it down in a proper manner.
Open the tailgate of your truck once you are done with the weather proofing to move on to the next step.
You do not want water to seep into the truck through the canopy. So you need to apply adhesive material all around the body of the truck. The adhesive waterproofing that you are using, must not have any air bubbles or weak areas so make sure that you stick it down in a proper manner.Open the tailgate of your truck once you are done with the weather proofing to move on to the next step. -
3
With help from a willing assistant, flip the canopy and place it the right way up on the back of the truck. While you do so, lookout for your fingers getting trapped under the canopy since it can be very painful.
-
4
To ensure that the canopy is water tight, see if it fits properly on the top of the truck. If it does not, you will have to make the necessary changes.
-
5
Clamp the canopy to the truck using the hardware clamps which came with the canopy.
-
6
As a final check before you tighten the clamps is to make sure that the canopy is in proper alignment. Do so after closing the back of the truck. If it is not, make the necessary adjustments to line it up properly.
-
7
Evenly tighten all four hardware clamps to ensure that the canopy does not move while you driver the truck.
-
8
In case the canopy came with lights, drill a hole in the truck’s body and make wired connections between the lights and the brake light wires to start supply of current.


