How to Install a Washing Machine

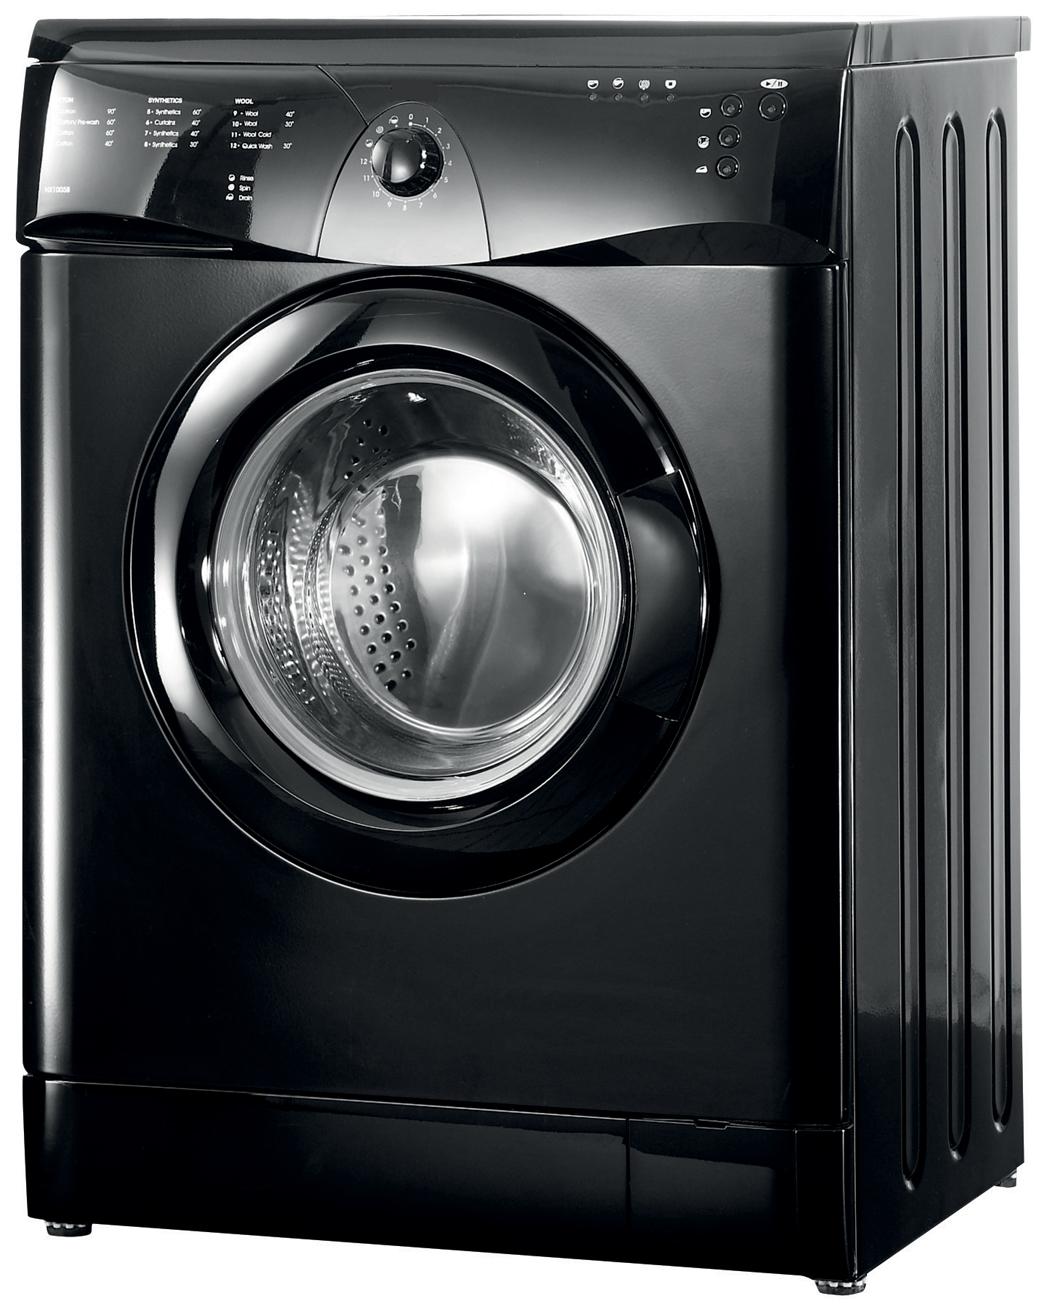
Washing machines have become necessary appliances given the convenience they provide. If you have purchased one of these units for the first time, you need to consider placing them in an area which does not obstruct movement and is safe to work in. Since washing machine units are usually bulky, it is preferable to place them in open spaces. Plumbing and electrical output is also something you need to look into if you don’t already have accessible water lines and a power supply to connect with the unit.
Whether you are going to install your first unit or intend to replace your old one, here is a step-by-step guide to doing it properly.
Instructions
-
1
These units are transported in special packaging to minimize chances of accidental damage. You need to carefully remove the packaging and look for any bolts put in place for shipping. Since washing machines have moving parts, often brackets are installed to prevent the tub from moving around. These need to be removed as well before you can use the unit.
-
2
Before you get the packaging out of the way, you need to look for the instructions manual or leaflet which comes with your specific model. This manual should have important instructions which you need to read carefully, and will come in handy if you need to troubleshoot any issues.
-
3
Assuming you have familiarized yourself with the specifics of your unit, you should now begin connecting the water hoses. Depending on the model, you should typically have hot and cold water outlets, these will also be color-coded (usually red for hot and blue for cold). Some units come with only one cold water inlet, in which case you should only connect that and cap the hot water outlet safely.
-
4
The washing machine will also have an output for dirty water, which needs to be connected to your waste system. The tub will drain through this output.
-
5
Once the plumbing is connected properly, check for any leaks to ensure water does not spill, which can pose a work hazard.
-
6
Finally connect the unit with the electrical output and move it into place, making sure you do not bend the hoses and joints.
-
7
Now you can give your unit a test run and make sure the washer fills up and drains properly. Check for leaks again and make sure the electrical output is safe from water splashes.


