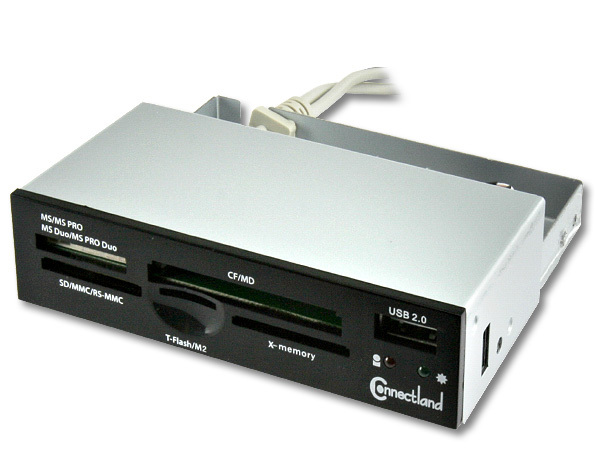
How to Install an Internal Card Reader

An internal car reader is a great helping tool. Flash drives for your phone, camera or other device may have a different format. It is not very convenient to use different adapters and connect the device via USB cable. Card Reader allows you to connect to a computer through flash drive in any format. You just have to buy the device and install it in your PC.
Nowadays, more computers are equipped with built-in card readers. These devices are compatible with memory cards of most modern digital devices such as cameras,tablets, mobile phones and e-books.
Instructions
-
1
Readers are generally connected to the USB-interface on the motherboard. It is better to know the technical documentation of your computer before installing the internal card reader. Disconnect power from the computer, remove the system cover and carefully read the board. Look for a USB interface connection according to the scheme of the motherboard of your computer. If you do not have motherboard circuit, locate the USB interface directly on the system board. This should not be a problem but it might take more time.
-
2
When the USB-interface is found, connect the power cord back and insert the card reader. Usually, an internal card reader is installed in the free space on the front panel of the computer. There is also a special section for the installation of additional equipment. To set it back, remove the cover on the front of the computer and insert the card reader in the chassis.
-
3
After the installation, do not hurry to close the system cover. Apply power to the computer and turn it on. Wait until the operating system loads. When the operating system is fully loaded, you will get a “found new hardware” message by the operating system and it it will further recommend you to download some of the drivers that are needed to help the device function properly. Wait until the end of this process, until you see "The device has successfully connected and ready to work."


