How to Install an Invisible Dog Fence

Dog is a man’s best friend. So no one wants their best friend to stray into a neighbor’s yard, traffic or even into a prized flower bed. Sometimes tying a dog seems too cruel. If you are one of these people then invisible containment systems are the best option. Keeping the size of your yard in mind, it takes a day to install a system and a week to train the dog. This will ensure your dog playing in a secure area within boundaries. There are easy to follow instructions with the system. Moreover an invisible dog fence is a great alternative to expensive and heavy traditional fences.
Things Required:
– Invisible fence kit
– Drill
– Spray paint/ chalk
– Shovel or lawn edger
– Hide
Instructions
-
1
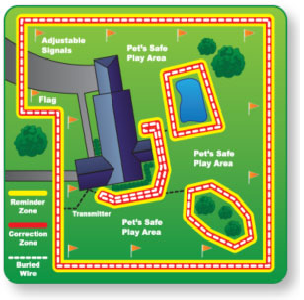
The first step is to select the brand of invisible fence. Then you plan out where to position it. Ask your local agencies to identify any sort of underground obstructions for you. Take a look at the area in detail and analyze what shape your fence will be. Before starting, draw a map of the area so that you are sure of all the wires and terminal.

-
2
Usually these kits come along with a detailed manual. Some companies propose to staple the wiring to the ground, but experts are of the opinion that the wire should be buried. Dig a trench of around 6 inch deep for the wire. Put in all the wires and throw dirt on them to cover properly. Keep marking boundary lines as you go forward with a chalk or paint. Now install the transmitter according to instructions. Choose a wall which is easily accessible. After it is installed, you only need to connect the boundary wire with transmitter.

-
3
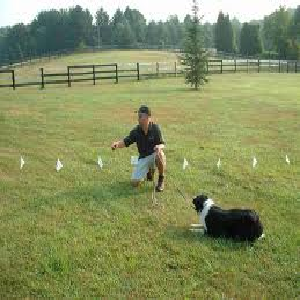
The invisible fence will become useful when the dog is trained properly. Use a training collar and take him close to the invisible fence until it beeps, then lead the dog away. Repeat same process and reward your dog. After some time the dog will turn away itself after hearing the beep.
Now sit back and enjoy peace as you don't have to keep an eye constantly on your dog!


