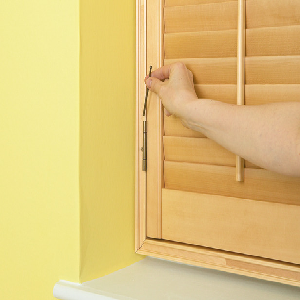
How to Install Interior Shutters

Originally interior shutters were the “window treatments” commonly used in Southern and urban houses. They add architectural detail beautifully. They help in keeping out winter’s chilly winds, summer’s heat or streaming sunlight. Another benefit is that they provide privacy while you can still enjoy fresh air. They are used to add style and give protection. Traditionally wooden made, but now there are other materials available in the market.
Things Required:
– Shutters
– Measuring tape
– Hinges
– Hanging strips
– Pencil
– Drill
– Shims
Instructions
-
1
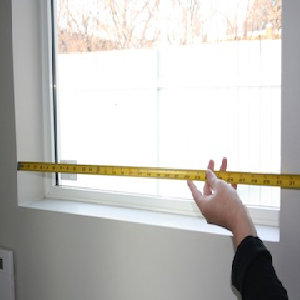
First you need the inside dimensions measure of the window frame. Take measurements at both the top and bottom of the window. Measuring the depth of the window jamb is also important to check for other obstructions.
-
2
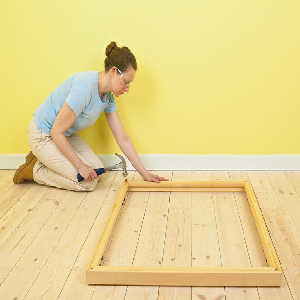
Place the shutter on the floor and drill pilot holes. Fix the shutter frame to the window frame so the shutters occupy as little space as possible when they are open or closed. The frame should be constructed to the size of the window opening. Use dowels to hold the frame together. Then place the shutter frame in the recess and ensure that it slides easily into place against the window frame.
-
3
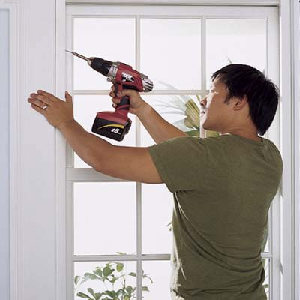
Now start drilling pilot holes and nail into the window frame and the shutter frame at the center, top and bottom of each piece. With a square-head in your drill, nail the strip to the jamb.
-
4
Ask another person to place both shutters in the window opening. Put shims at the bottom and top so that it stays in place. Adjust accordingly so that an uniform spacing is created. Then screw the magnetic catch in the inside corners. Make sure to align the top of each hinge plate. At first screw the hinges loosely to the hanging strip and check if the shutter is even and functions without blockage. Then tighten the screws. Repeat the same process for other shutters.
