How to Install Raised Paneling

Installing raised paneling or wainscoting to cover walls has been in practice since over two centuries. It has started being in the buzz again due to its ability to add interest and life to any wall and be a substitute for natural wood. The panels are made up of MDF, a durable and easy to maintain material that can be cleaned with ease. It can also be painted in different stains to complement the theme. Raised paneling come in ready made kits that are easy to install and any novice can try his hands on with success. Any shortcoming is filled with our guide which makes sure you ace it.
Things required:
– Wainscoting panels
– Tape measure
– Putty knife
– Level
– Jigsaw
– Circular saw
– Construction adhesive
– Paneling nails
Instructions
-
1
Preparation:
Take the perimeter of the area you want to install raised paneling on. This will give you an idea of the number of panels you are going to need when you divide it by the width of a single panel.
Once you get the panels, let them acclimatize to the conditions of the room by placing them in it at least 48 hours before installation. This prevents any later contraction and expansion.
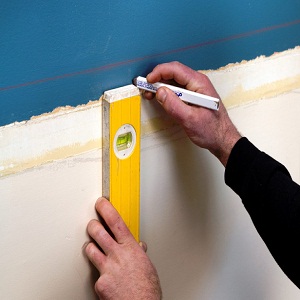
Hold the paneling to the wall and determine the height. Use this height to draw a pencil line around the whole length of the room. Use a level to ensure that the line is straight.
Do a dry fit rehearsal with the panels. This will help in laying the pattern and determining where you will have to cut the panels.
Use a stud finder to locate studs near this line, preferably at a distance of one inch. the studs are going to help you install the paneling.
-
2
Install Base Molding:
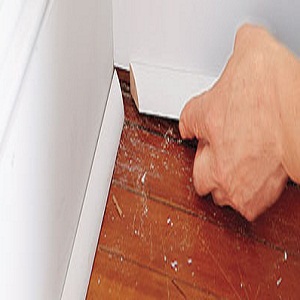
Panel kits come with baseboard molding. Hold them against the base of the wall and floor and nail into place.
-
3
Lay Panels:
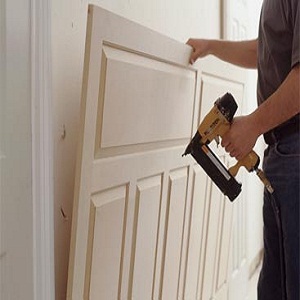
apply a layer of construction adhesive at the back of the first panel. Align its bottom against the baseboard molding and fix in place. Use a nail gun to drive a couple of nails through the panel into the studs at the back.
Apply adhesive on the second panel and fix it along the first one in a way that the groove meets the tongue. Drive the nails. Keep doing this until you reach a corner.
-
4
Cut Panels:
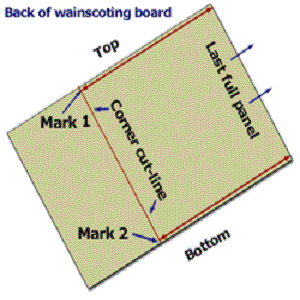
In corners where a single panel is too big for the space, you will have to cut it using a jigsaw. Measure the distance between the last panel and the corner. Subtract 1/8 inch form this distance. translate this distance into a full panel, mark the place and cut it with the saw. Install like other panels.
Once you are done installing the panels, lay the rail over the top of the panels. Secure it in place with nails.


