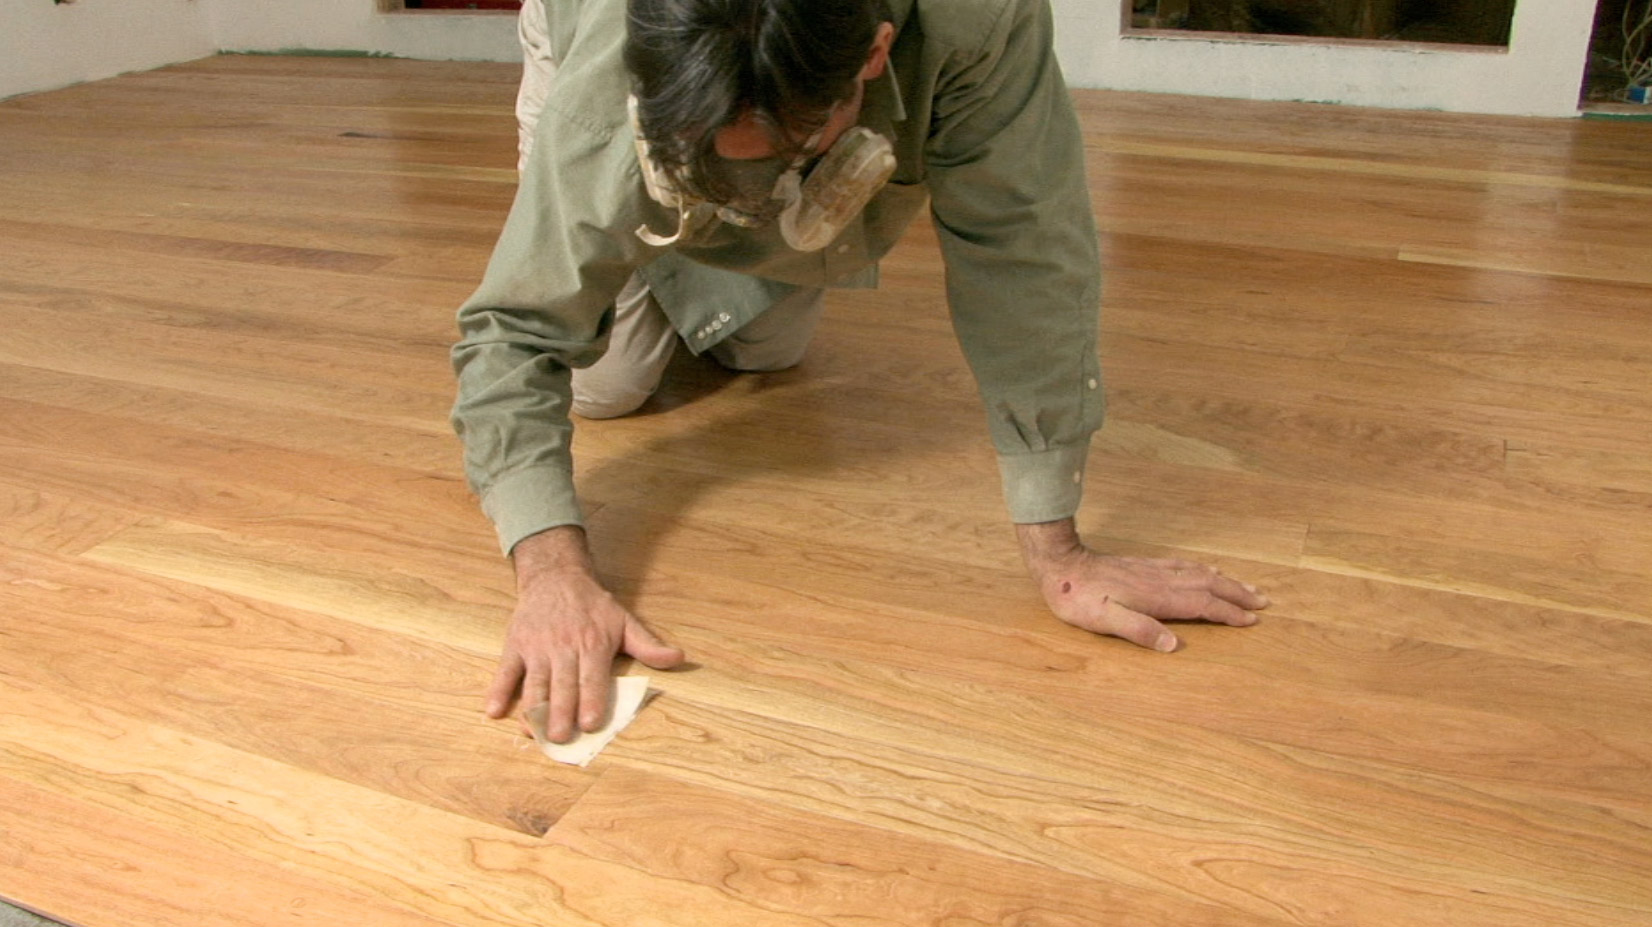
How to Install Reclaimed Hardwood Flooring

If you are looking for flooring which is not only budget friendly but also looks good, then look no further than reclaimed hardwood flooring. The best thing about these recycled floorboards is that you can easily install them in your home without hiring a carpenter’s services and save a considerable amount of money. This post will certainly give you a good idea of how to do it.
Things Required:
– Measuring tape
– Screwdriver
– Chalk
– Belt sander
– Broom
– Builder’s felt
– Hammer tacker
– Nail gun
Instructions
-
1
Calculate the area of your room
Calculate the area of your room. You want to find out how many square feet of the recycled floorboard are required. -
2
Let the floorboards acclimatise
Place the recycled floorboards in the room you want to install for a few days, to let them acclimatise. This will allow the boards to expand or contract according to your room's conditions before fixation. Also remove any old strips or nails from the recycled boards before installing them. -
3
Prepare the sub-floor
Prepare the sub-floor for your hardwood flooring. If your sub-floor is made up of solid wood or concrete, cover it with red rosin paper. Also check your concrete sub-floor for dampness, in which case you will be required to install a moist-proofing layer prior to the floorboards. -
4
Determine the direction
After having prepared the sub-floor, determine which way you want your wooden flooring to run. If laying over joists, it is recommended to go across the direction of the joists. This will make your flooring much stronger. -
5
Nail the floorboards
Lay the first board in the far corner of the room and nail in place with a hammer tacker. Fix the next board at the end of the first board and keep repeating until the entire subfloor is covered.


