How to Install Vinyl Sheet Flooring

Vinyl sheet flooring is a great option to cover places which receive great traffic like the bathroom and kitchen. The sheet is durable and looks attractive on the floor.Cleaning a floor with vinyl sheet cover is also very easy. The best thing is that installing vinyl sheet flooring is really easy and any determined home owner can take on the task on an unoccupied afternoon. Unlike tiles, the sheet takes less effort because you do not have to lay it one by one like the tiles. The step by step guide below has the details of installing vinyl sheet flooring for you.
Things you need:
– Vinyl sheet
– Adhesive
– Notched trowel
– Straightedge
– Flooring knife
Instructions
-
1
Measurements:
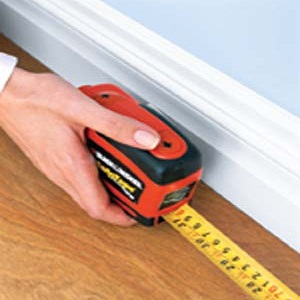
The first step is determine how much sheet you require for the room. Use a measuring tape to get the length and width of the room in foot. Multiply these together to get the square foot. If you want results in square yard, divide the square foot answer by 9.
Square foot = length * width
Square yard = Square foot /9
Get vinyl sheet according to this measurement. However it is advisable to get some extra length for any wastage or just to be on the safe side.
It is preferred that you let the vinyl sheet acclimatize to the new environment by letting it lie in the new room for a day before cutting it and laying it.
-
2
Sub floor preparation:
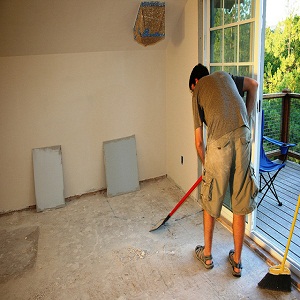
Empty the room totally. Now pull up any previous flooring surface. Vacuum the whole area. Use a putty knife to remove any glue residues. The aim is to provide a plain surface for the vinyl sheet. The floor should be completely dry before you start working on it.
-
3
Cutting vinyl:
Place your sheet in the area you want to install it in. Spread it out. Mark the floor dimensions on the sheet using a erasable felt tip. Leave two inches extra on each side .
This is the most critical phase. Following the marks, cut the sheet using straightedge and a flooring knife. Be very precise and take your time on the process. Do the trimmings now carefully at the border. Remember you can always take away extra vinyl sheet easily but it is much harder to add sheet pieces if you cut short.
Some people find it easier to make a sketch of the area on a template paper, transfer it to the vinyl sheet and than cut it. This makes the process quite lengthy. However, it is suitable for odd shaped room where laying down the sheet first and than cutting it is not possible.

-
4
Laying down:
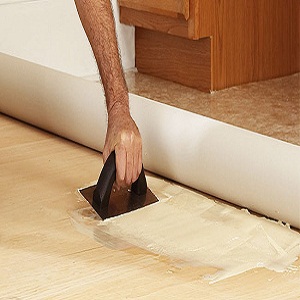
Roll up half of the sheet and let the other half flat on its side. Start working from the center and going towards the side of floor that you have uncovered. Spread a strip of epoxy adhesive in front of the rolled vinyl sheet,i.e all along the roll using a notched trowel. Check the epoxy bottle for 'open time' which is the time you let it remain without covering so that it acts most effective. After this time passes, unroll the vinyl slowly till where the adhesive strip goes. Press down slowly on the sheet to eliminate any bubbles. Spread another layer of epoxy and unroll some vinyl sheet over it. Do this till you reach the corner and have unrolled the sheet totally.
Come to the apposite half of the room where the vinyl sheet lay flat. Roll it up. Spread adhesive and unroll the sheet over it.
Now that you are done installing the sheet, use hot water to remove any excess adhesive from edges. Keep traffic minimal for at least a day so that the adhesive dries completely.


