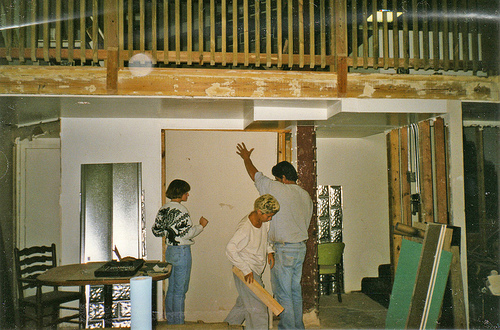
How to Install Wallboard

A wallboard is often also named as a drywall, a gypsum board or plasterboard. It can be defined as a panel that is made up of gypsum plaster and is pressed between two thick paper sheets. The formation of interior walls and ceilings are the most common reason behind its installation in any house-hold area and these are also used for office purposes. It has surpassed the demand for the conventional system of lath and plaster over the passage of time and it has become a speedier alternative for the above mentioned facility.
Instructions
-
1
For installation the first step is to choose the type of drywall that you have to install at the place and that has to be done in accordance with the dimensions of the place.
-
2
For the installation of a new drywall, we will have to remove the components of the previously existing wallboard e.g. the screws and the nails.
-
3
Next step is to check the place behind the previous drywall for moisture, leakages, seeping and termites.
-
4
Now measure the wall where you wish to install the facility.
-
5
Use the saw to cut the pieces of the purchased drywall as it can be easily installed in segments rather than as a single unit.
-
6
Now drill holes in the wall for the new wallboard, according to the dimensions of where the holes are positioned.
-
7
Ask someone to hold the drywall as you install the screws to the centres on the vertical studs.
-
8
Now install the wallboard and make sure that the screws are installed closer to the edges of the board.
-
9
Next is to apply a good amount of mud to each seam and have your drywall tape pre-cut and also get it slightly dampened with clean water.
-
10
Now we have to put the tape on the joints on which the mud has been applied and then use a knife to flatten the tape.
-
11
Make sure that you don’t re-apply the mud that has been left over on the blade of the knife as it will tend to reduce the beauty of the finishing of the wall board that you are looking for.
-
12
Now inspect the joints for any air bubbles that may have crept while taping. Remove the air bubbles by caressing with the knife.
-
13
To give the drywall a good look, smooth the corners by using a corner tool. Your wallboard is now installed and it will be giving an aesthetically pleasing look if the above mentioned steps are kept in mind while installation.


