How to Install Your First WordPress Plugin
Instructions
-
1
Installing a Plugin through the Admin Panel
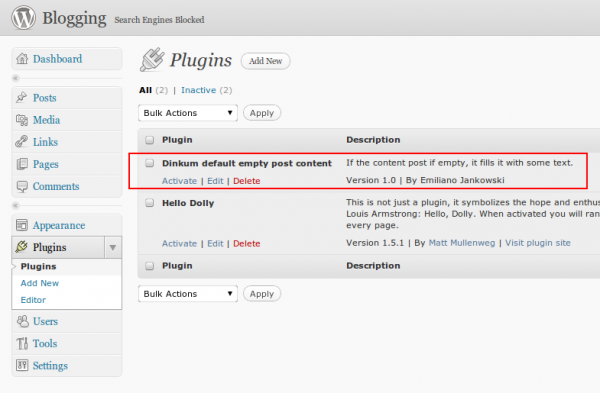
This is by far the easiest way when it comes to installing a plugin. Normally your WordPress plugin directory will have free options to choose from, ones which follow GPL and WordPress guidelines. Log on to your Word Press blog and on the left side of the screen, look for a host of options under Dash Board, and under Appearance, find Plugins> Add New. Normally your WordPress will come with a few plugins already installed. However, for now our focus is how to install a new Plugin, for which we will choose Add New.
Remember this can only be done using the admin account. -
2
Searching for the Plug-in
After you click 'Add New', a search engine field will be available in the center of the page, where you will be writing the name of the plug-in you wish to install. You can also check with keywords for the function you would like. A list will be visible to you from which you can choose your desired plug-in.
To keep our search simple, we will search for maintenance mode. It basically means that you can put the site on maintenance mode but still be working on it. However, viewers will only see a flash of the maintenance page and will have to return on a later date to access the site. -
3
Installing Plug-in
There will be lots of different options appearing on your screen. While our search is only focusing on the maintenance mode, there are other plug-ins like Google XML Sitemaps available for different purposes. -
4
Activate
Click on Install now. Once installed, you will simply need to activate the plug-in for further use. If the plug-in is activated, it will appear in your Plugins section and be marked as active. Plug-ins may come with their own setting’s page which will also appear on your dashboard under a specific or separate heading.


