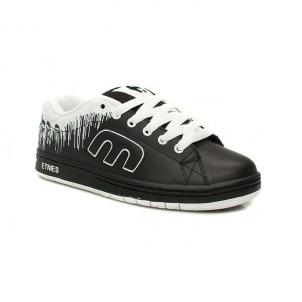
How to Lace Etnies Shoes

Etnies has a great collection of action sports shoes. The shoes are not only extremely comfortable, they are a visual treat to behold as well.
A lot of people find themselves struggling with lacing etnies shoes after purchasing them. It is important to understand that there is no right or wrong way to lace a shoe. You can learn a number of ways to lace them. How you lace a show depends on their style and how you plan on wearing them.
In case you are looking for a really simple way to lace your etnies shoes, you may want to try out the over-under lacing.
Instructions
-
1
The first thing that you need to do is to grab one end of the lace with your thumb and index finger, preferably of the right hand if you are a right-hander or left hand if you are a left-hander, and push it through the eyelet furthest from your ankle, while ensuring that you pass it through from the inside of the shoe to the outside. Refer to this eyelet as the first eyelet for sake of convenience.
-
2
Grab the other end of the lace between your thumb and index finger and pass it through the first eyelet closest to the toe-end of the shoe on the other side of the tongue. Again make sure to go through from the inside of the shoe to the outside instead of the other way round. Make sure each side of the lace is of equal length.
-
3
Now take one end of the lace between your thumb and index finger, move it across the tongue of the show and pass it through the second eyelet from the outside to the inside of the show.
-
4
Move the end of the lace across the tongue to the other side again and pass it through the third eyelet, from the outside to the inside of the shoe this time.
-
5
Again, move the lace across the tongue and this time pass it through the fourth eyelet from the inside to the outside.
-
6
Continue to do this, alternating between sides and moving up the eyelets while getting closer to the eyelet closest to the ankle. Remember to pass the lace from the outside of the shoe to the inside for one eyelet and then from to inside to the outside of the shoe for the next eyelet.
-
7
Once you are done with one end of the lace, repeat the previous steps for the other end of the lace.
-
8
Once both the ends of the laces have gone through equal but opposite eyelets and pass through the eyelets closest to the ankle, pull them to tighten them.
-
9
Try walking in the shoe to ensure that it is tight enough to keep the shoe from slipping. If it is tight enough, slide your foot out of the shoe and tie a knot at each end of the lace. Try to make the knot as close to the eyelet as possible.


