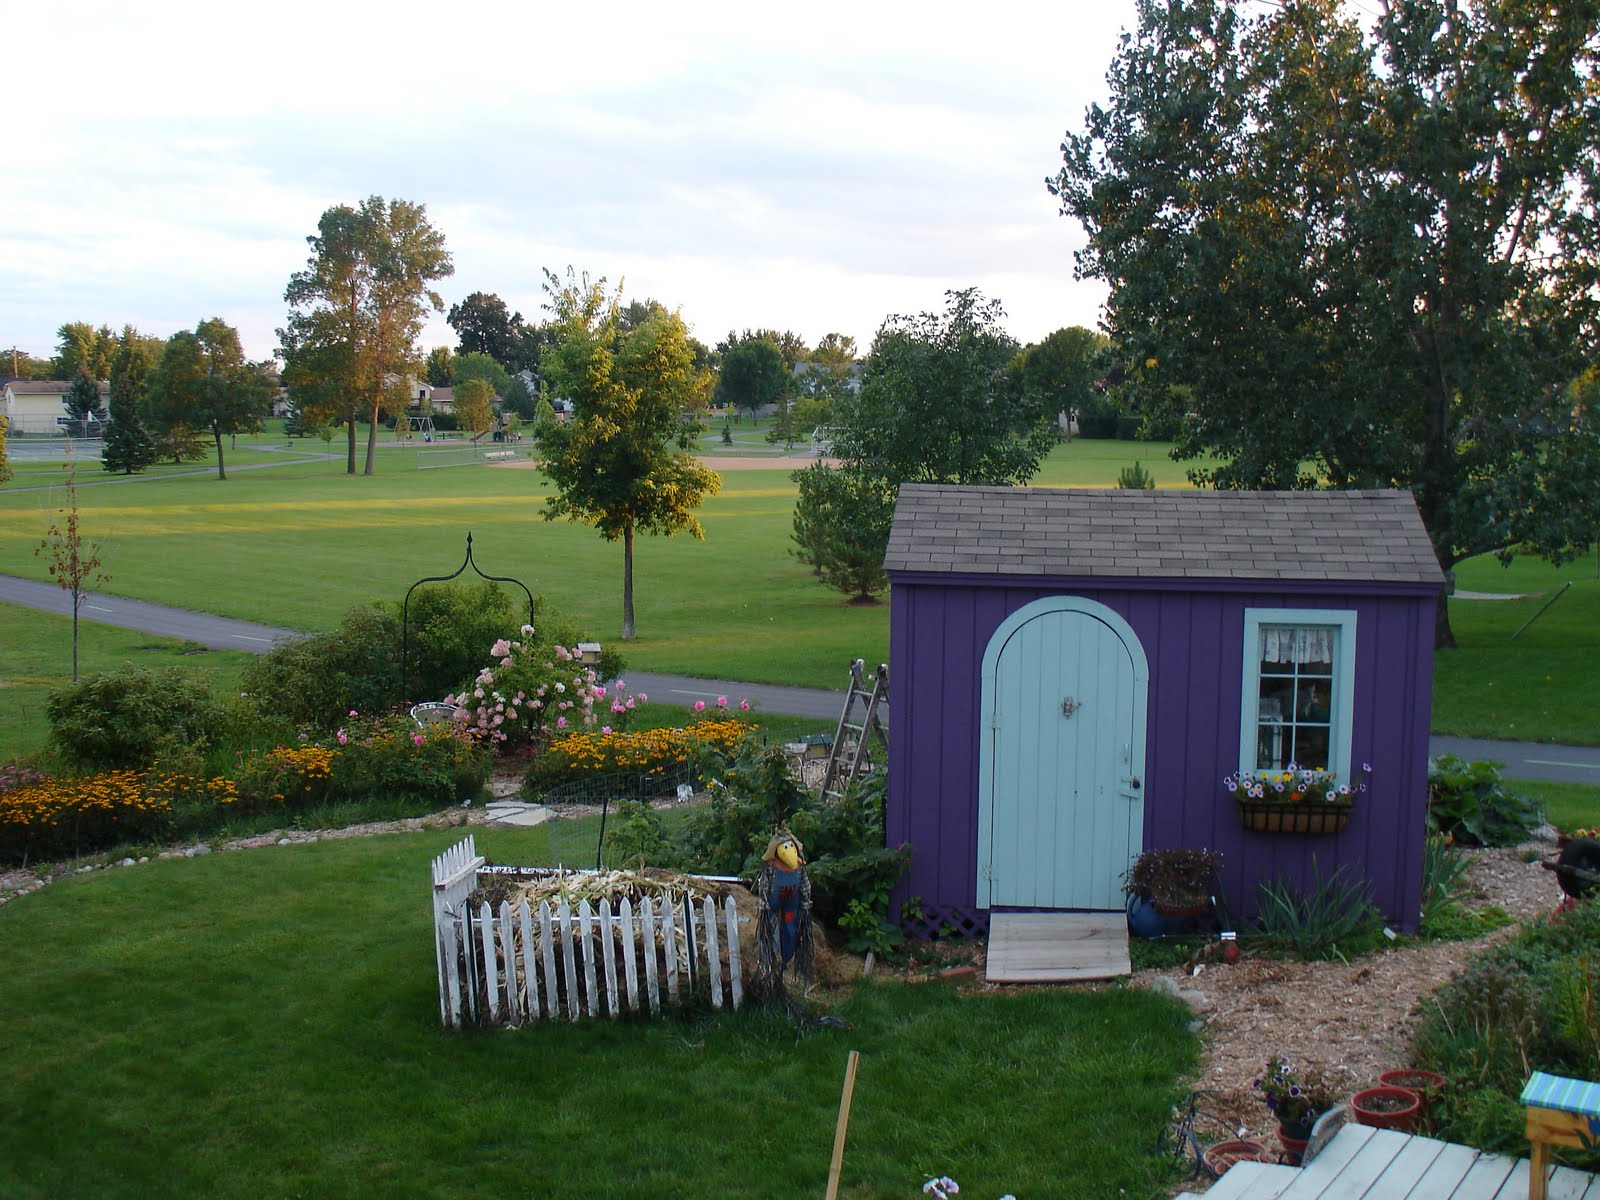
How to Lay a Base for a Garden Shed

A strong, even and square base is required basically to build any good structure. Have you seen any building with weak base lasting for even months? It is not possible in reality.
The same formula applies to a garden shed. Without a solid foundation, your shed will quickly become unstable. And as a result, its life will be no more than a few days. On the other hand, a properly prepared pad makes a lot of things quite easy.
There are several factors involved in building a garden shed. First of all, you may need a special permission from the land department. There might be some other restrictions as well.
Things required:
– Wood stakes
– Hammer
– Shovel
– Carpenter’s level
– 2×4 lumber
– Gravel
– Landscape fabric
Instructions
-
1
First of all, take measurements of the area and identify the four corners of your shed. To get the best idea about the exact area, you can place wooden stakes at each corner of the spot.
-
2
After finishing with the measurements, you are supposed to do some relevant research. Since nobody wants to waste any money, it is better to see if there are easements, setbacks or neighbourhood restrictions.
You may have to deal with building permits afterwards. And as a result, the entire money will go to waste, because it is impossible to transfer the shed from place to another. -
3
After having your properly flagged, begin the real work. First of all, you need to remove the sod from where the shed will sit. To avoid any space related problems, you must also include an additional 12 inches around the perimeter.
-
4
It is the time to use a carpenters level and a 2x4 piece of straight lumber. These items are used to level the pad – something extremely important in laying the base for the shed.
-
5
The next step is about installing the shed anchors at the four corners. These anchors should be installed at a slight angle away from the shed.
-
6
The final move is adding 4 inches of gravel over the landscape fabric. You need to ensure that the surface is level.


