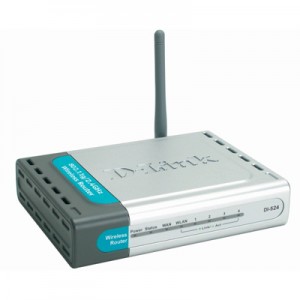
How to Lock a Wireless Router

You would definitely not want unauthorised people to access your internet connection through your wireless router. The best way to prevent this is to lock your wireless router so that anyone trying to access your router’s wireless network would be required to enter a valid password. This will ensure that you network stays secure at all times, and its speed is not affected. Locking a wireless router is very easy and would not require more than a few minutes to complete.
Things Required:
– Wireless router
– A computer/laptop
Instructions
-
1
Secure Your Wireless Router
Launch whichever web browser you use, type your router’s IP address in the browser’s URL bar and press the ‘Enter’ key. Although the router’s IP address can be unique, three of the most commonly used router IP addresses are 192.168.0.1, 192.168.1.1 and 192.168.2.1. If you are unable to open your router’s administrative console using these IP addresses, you will need to refer to the router's manual for the correct address. -
2
Before you can make changes to the configuration of your wireless router, you will be required to enter a valid username and password. If you are unsure what the username and password is, refer to the router's manual once again.
-
3
Upon entering the correct username and password, you will be directed to the router’s administrative console. Click the tab labelled ‘Settings’ or ‘Security.’
-
4
You will find all the options related to the security of your wireless router on this page. Change the ‘Unsecured’ option to ‘WPA’, ‘WPA2’ or ‘WEP’.
-
5
You will be required to enter a key which will serve as a passphrase for accessing your router’s wireless network. Be sure to set a passphrase that you can easily remember. Avoid sharing the key with others to prevent unauthorised access to the router’s wireless network.
-
6
Click ‘Save Settings’ ‘Apply’ or ‘OK’ in order for the changes you just made to take effect.
-
7
Verify That the Network Is Secure
Just to be sure that you were successful at locking the wireless router, click the ‘Start’ button on your Windows desktop and then click ‘Control Panel’. -
8
Once in the ‘Control Panel’ double click the ‘Network and Sharing Center’ icon.
-
9
On your left hand side, you will see the ‘Manage wireless networks’ link. Click it.
-
10
You will be presented with a list of available wireless networks. You will see that your wireless network would not be in the ‘Unsecured’ section anymore.


