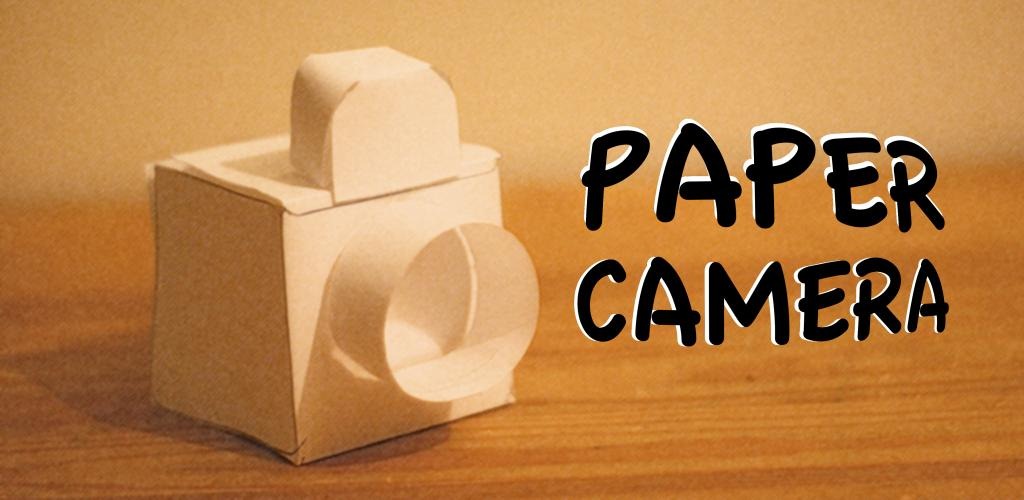
How to Make a 3d Camera Out of Paper

If your child wants to be a professional photographer in near future but is too young to be given an actual 3d camera, there are ways that can keep both you and your child happy. Cameras are delicate gadgets and kids should not be trusted with them but you often find yourself in a position where you just can’t say no to your kids.
Suppose your kid has fallen in love with photography and is asking for a camera. So instead of handling him a new camera, you can make a 3d camera out of a paper and give it to him. That will make your kid happy for time being and you will be spared of spending extra money on a brand new camera.
Things you will require
– Bottle top
– Toilet paper tube
– Glue
Instructions
-
1
Take a cardboard and cover it with a construction paper. When it is completely covered, glue the construction paper down in such a way that the packaging of the box is completely covered and no longer visible. Now you need a cardboard toilet paper tube and once you have with you, cut it in half. Make sure than both halves are of the same size. Use a utility knife for this purpose.
-
2
Now take the half-tube you just cut and paint it. You can use any colour of your choice as there are no hard and fast rules for this procedure. Now take a piece of card and draw a 2-inch square on it. Once it is drawn, cut it out and draw a new square inside the square you just cut few seconds earlier but this time draw a 1-inch square and cut it out using a utility knife.
-
3
Paint the bottle top you collected earlier. Paint it in your favourite colour as it will be your camera’s button eventually. Now pick up the half toilet paper tube and stick it to the centre of one larger side of the box.
-
4
Fold one side of the square in order to make a base and apply glue to the bottom of that base. Now attach this on the far left side on the long side above the toilet paper tube. Cover the bottom of the bottle top using glue and stick it down on the far right on the long side above the toilet paper tube.
-
5
Apply glue to the end of the ribbon and carefully attach it to the top right side of your self-made model of the 3d camera. Repeat it with the other side of the ribbon as well and let the glue to dry.


