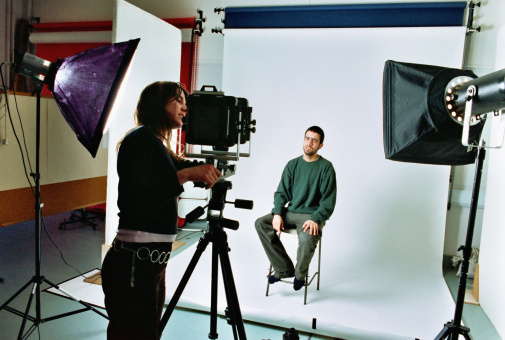
How to Make a Background for Studio Photography

For a professional photographer, setting up a photography studio is the most important thing where he conducts photo shoots and put his expertise into practice. Making the background of a photography studio is one of the most important things that helps in conducting a photo shoot in an effective manner because background plays a vital role in enhancing the impact of the image. Many people fail to get desired results as they do not make appropriate background of their photography studio. However, you can do it easily without any outside help by taking guidance from this article.
Instructions
-
1
First of all, you should understand the importance of the background of your photography studio and should make a plan for the theme and colour of the background.
-
2
Make sure you choose the right colour as it plays a vital role in completing a photo shoot in a desired manner. An appropriate matching or contrasting coloured background always brings favourable results.
-
3
Do not compromise on the colour of a background of photography studio because it helps in enhancing the overall look of the photographs and all clients get satisfied with the work of the photographer.
-
4
You should take measurement of the wall of your photography studio where you want to make the background. This wall will play the central role as a backdrop from your photo shoots.
-
5
Take a pencil and mark the fabric that you want to set up on the background of your photography studio. Make sure that you draw straight lines on the fabric before cutting it.
-
6
Now pick up the scissors and cut your muslin in order to cover the wall completely and as per the measurements that you have already taken.
-
7
Then take a fusible no-sew tape for cutting muslin’s edges. After that you need to fold the fabric in a way to make a hem over this no-sew fusible tape. Always try your best to keep the edges even.
-
8
After that, you should iron the fabric at the folding point in order to pres and it with no-sew tape. You should also read the instructions that come with the fusible no-sew tape.
-
9
Now it is time to hang the muslin on the background wall of your photography studio. Make sure it completely fits to the area that you have specified for the background.


