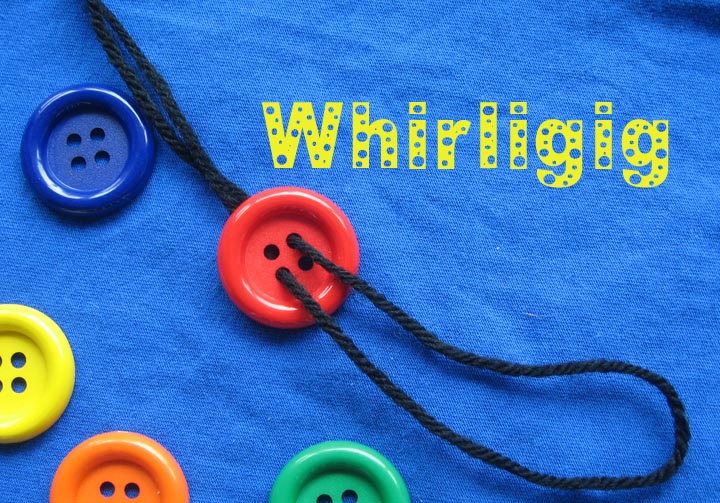
How to Make a Button and String Whirligig

Button and String whirligig are unique toys which attracts children even in this era of complex computer games and elaborate gadgets. Putting together a button and string whirligig only takes seconds and entertains kids for hours. You can easily make a button and string whirligig after following some simple instructions and using some basic household items.
Things Required:
– Large flat button (no shank)
– Twine or yarn
– Scissors or blade
Instructions
-
1
Cut the string
First of all you need to cut the string to a length of 24-inches. You can use a pair of scissors or a blade for this purpose. The recommended length is about 2 to 2.5 feet for kids. -
2
Thread the string through the holes
Now you need to thread the string through the holes of the button. You are required to use a flat button which should have at least two holes. Avoid using buttons with a shank. In case you are using a button with four holes, you need to thread the holes diagonally across from the first. -
3
Tie the ends
After threading the string through holes, you need to tie the ends together in a knot. -
4
Hold the ends and swing
Next you need to hold the ends of the loop and let the button slide in the middle. Then you can swing it to make sure it is okay and have fun. You are required to place the ends of the loop over your middle finger and then swing the button around to wind it up. Remember that whenever pressure starts to build, you are required to gradually pull out your hands and then quickly push back in.


