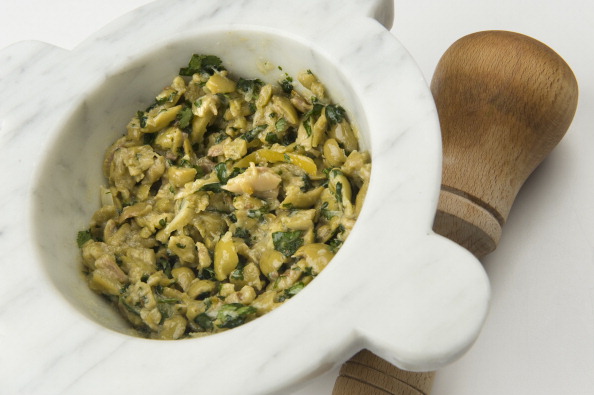
How to Make a Ceramic Mortar and Pestle

A mortar and pestle has been used since centuries to grind fresh herbs, releasing their internal flavour and juices. Forming one of the core kitchen items, a mortar can also be used to extract the maximum scent out of herbs. A mortar and a pestle may be created by using many strong and hard materials but pottery clay is among the most common substances used for these kitchen tools.
Using some basic sculpting skills and kiln-fired clay, you can save some money and make your own ceramic mortar and a pestle.
Instructions
-
1
Prepare pieces of clay
In order to prepare your own mortar and pestle, you need to prepare two pieces of clay. The first piece should be of the size of a ping-pong ball; whereas, the second should be much smaller, about one third of the first piece. By kneading the clay and adding some water in the clay until it is soft, you can easily condition it. Having prepared the clay, it would be much easier and pliable to work with and you would be able to manipulate it. -
2
Form the mortar
Make a sphere by rolling the larger clay piece between on work surface with a flattened hand. By pressing down in the centre of the sphere with the help of your thumb, you can create a recess. In order to widen the hollow, pinch the sides of the bowl from the inside with your fingers. However, you must ensure that the walls or not too thin; otherwise, they would not be able to bear the punishment of a grinding pestle.
By pressing them against your workstation, you need to flatten the bottom and the top of the bowl. -
3
Pestle
Now grab the smaller piece of the clay and roll it into a stout log, which should be about the length of your thumb. Position the piece on its end on the surface. While running our fingers down the sides, press the clay piece from the opposite side to thicken the other side. In order to round the thicker end of the pestle, you should press it with the help of your fingertips. -
4
Smooth the mortar and the pestle
Dip your fingers in water and run them smoothly over the surfaces of both the pieces. -
5
Fire the clay
You may now fire the clay until it becomes very firm and strong.


