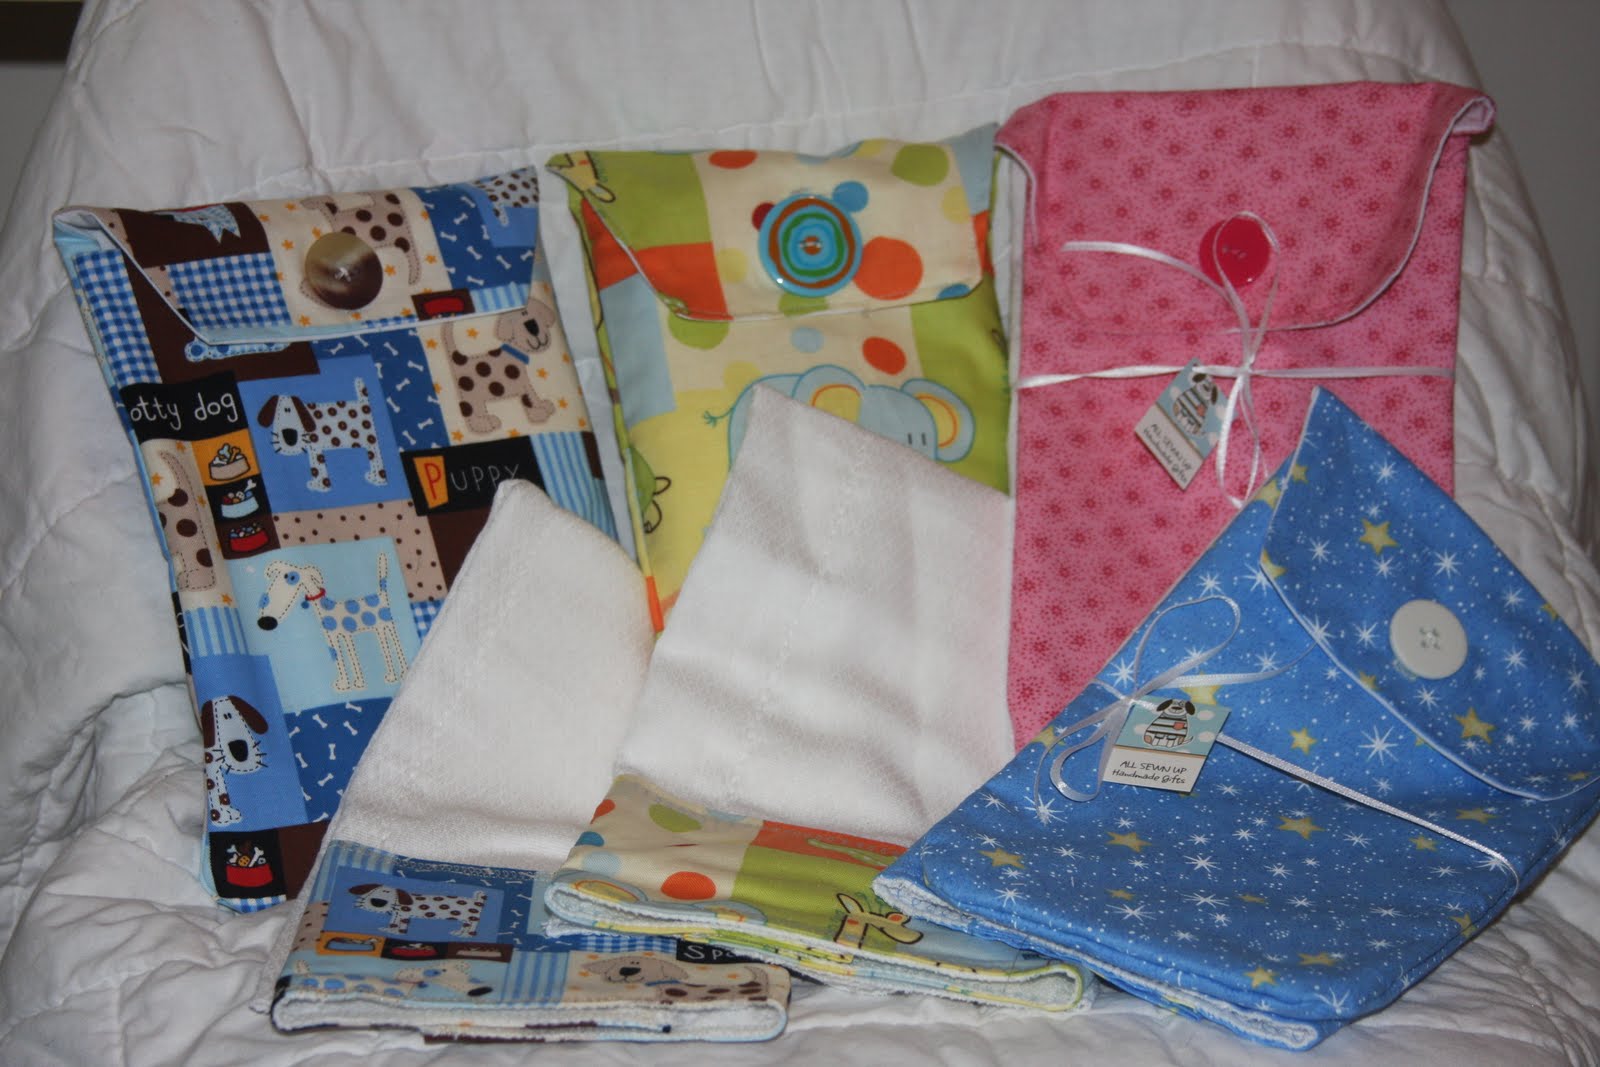
How to Make a Diaper Holder

There are a number of items required to decorate a nursery; a diaper holder being one of those items. You can either purchase a diaper holder at a supply store or you can make one at home. Keep in mind that with the latter option, you will have to do a fair amount of work.
Things Required:
– Child size clothes hanger
– 1 1/2 yards of cotton fabric
– Matching thread
– 1/4 yard fusible interfacing
– Piece of cardboard
– Paper and pencil
– Measuring tape
– Scissors
– Straight pins
– Iron
– Ironing board
– Sewing machine
Instructions
-
1
Use a pencil to draw a semi circle on a piece of paper. The half circle you draw should be 9 inches tall whereas its width should be 13 inches.
Pin this paper to a large enough piece of fabric. With a pair of scissors, cut the piece of fabric around the half circle. Cut one more identical piece of fabric in a similar manner. -
2
Cut two fusible interlacing pieces using pattern from the previous step as a reference. Iron fusible interlacing is done in order to attach them to the pieces of fabric.
-
3
Cut a rectangular piece of fabric for using as back of the diaper holder. Dimensions of this rectangular piece of fabric should be 13 inches × 22 inches.
-
4
Cut two rectangular pieces of fabric. Each should be 7 inches wide and 22 inches tall. These pieces of fabric would serve as front sides of the diaper holder.
-
5
Cut another rectangular fabric for using as bottom side of the diaper holder. Dimensions of this rectangular piece of fabric should be 13 inches × 9 inches.
-
6
Cut two pieces of fabric in the shape of a triangle. Each should be 9 inches in width at the bottom and 22 inches in height. Make sure that the sides of the triangular pieces of fabric taper to a narrow point. Use a tape measure for getting the dimensions right.
-
7
Fold one edge of both 7×22 inches rectangular pieces of fabric over towards the wrong fabric side. Make one more identical fold in both rectangular pieces of fabric. Press the folds with a hot iron and stitch them on a sewing machine.
-
8
Place the pieces of fabric from the previous step on a flat surface with their right sides facing up and the stitched edges in contact with each other. Place one of the pieces of semi circular fabric right side down on top of the pieces of fabric which are going to serve as front sides of the diaper holder.
-
9
Ensure that straight edge of the half circle is in line with top of the rectangular pieces. Pin and sew the edges and press them flat with a hot iron.
-
10
Place the other semi circular piece of fabric beneath the assembly from the previous step. As before, ensure that the sides are properly lined up. Pin together the pieces and stitch them. Flatten the seams with a hot iron.
-
11
Fold over 1/2 inch of the curved edge of each semi circular piece of fabric. Firmly press down the fold and stitch it to ensure it stays in place.
-
12
With the right fabric sides in contact with each other, place together the front side piece of fabric and the triangular pieces of fabric. Line up their lower edges, pin them up, and stitch them in place. Flatten the seams with a hot iron.
-
13
Bring together unstitched edge of one of the rectangular pieces of fabric serving as side of the diaper holder and the piece of fabric serving as the back of it. Pin up the pieces of fabric, stitch them and flatten the seams as before. Sew other unstitched fabric sides in a similar manner.
-
14
Pin up the front and rear semi circular pieces of fabric and stitch them. Remember to leave 2 inches of space unstitched on the top of the diaper holder.
-
15
Pin together the rectangular piece of fabric serving as the bottom side and lower edges of the piece of fabric serving as back of the diaper holder. Stitch the sides and turn the diaper holder inside out.
-
16
To make the base of the diaper holder, cut a cardboard 12-1/2 inches wide by 8-1/2 inches deep. Make a fabric cover for the piece of cardboard. The piece of fabric for this purpose should be 13-1/2 inches wide and 17-1/2 inches deep. Fold the piece of fabric in half and stitch the sides. Turn the cover right side out and insert the piece of cardboard in it. Sew shut the open end of the cardboard cover.
-
17
Finally, place the covered piece of cardboard at the bottom of the diaper holder.

