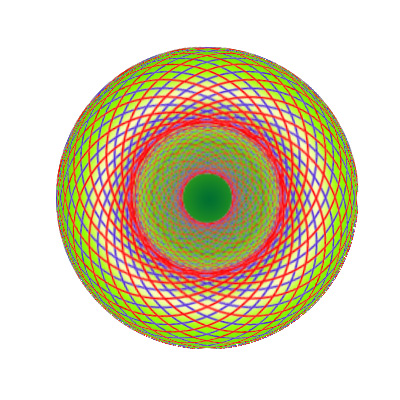
How to Make a Digital Spyrograph

Making a digital Spyrograph is not as hard as some of you may think. When you look at the Spyrograph, it seems to be a pattern consisting of lines of different colours but in reality it is much more than that. It is recommended to follow some simple instructions and tips to be able to perform this task effectively and efficiently. Spending several hours drawing with colour pens on a piece of paper requires patience and determination. If you want to please your friends and parents with a geometric masterpiece, create a digital Spyrograph instantly with GIMP.
Instructions
-
1
Before doing anything else, you will need to make sure that you have the skills in this area. If you have the patience and dedication to create a perfect Spyrograph, consider downloading the GIMP application on to your computer. This can be done by searching for GIMP in the Google search bar. Download the product from a recognised store and complete the installation process to run the application on your computer for the first time.
-
2
Once the installation process is completed, test the software to see if it works on your computer. If everything is fine, consider opening a new GIMP window with a blank white background page. Depending on your liking, you can choose a different colours for the background but the old fashioned designs incorporates a white background. Coloured background or image file, GIMP software provides users with a range of options.
-
3
Next, choose the SPYROGIMP from the filter menu. This will open up the programme tool bar. You can make all sorts of changes and adjustments in this window. Shape, colour and size of the Spyrograph can be easily changed by choosing the gear teeth of the outer and inner pieces. Choose what shape would like to work with. This can be either a triangle, circle, octagon or pentagon. Enter the angle value and starting point for your Spyrograph.
-
4
Now it is time to choose the brush colours and brush size. Airbrush patterns, pen lines or pencil lines, GIMP software will allow to create your own design depending on your needs. It is advised to experiment using different tools and colours to be able to achieve the design you have imagined.
-
5
Render your Spyrograph once you have chosen the brush colours and sizes. Add objects to the design by reopening the tool bar and selecting the required options.


