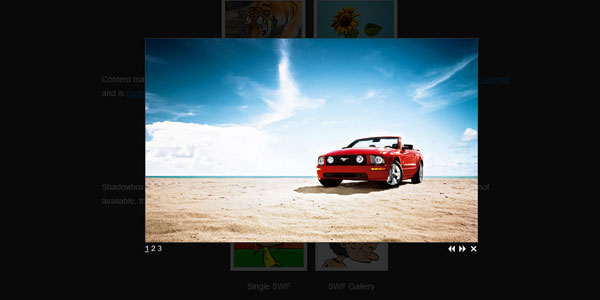
How to Make a Light box Gallery

Lightbox is one of the most widely used JavaScript applications. It has recently become very popular for its use to display large images on the online photo galleries. Furthermore, it is very light and has a very simple yet elegant design. In addition, it is very easy to use as compared to other applications.
If you are using Lightbox technology in an online photo gallery, you can magnify the image in Lightbox window without leaving the page as it will automatically resize the page itself. Moreover, you can easily make your own Lightbox galleries with the help of VisualLightBox which is a free software available on the internet.
Instructions
-
1
First of all, you have to open your internet browser. Make sure that your internet connection is fine. Search for the VisualLightBox software on the internet and download it from a reliable link. After downloading the file, locate it and run it on your computer so as to install it. Follow the procedure and complete the installation process.
-
2
After installing the programme, open it and click ‘Images’ option which is given on the top menu. Then, select ‘Add images’ option. Click on the green circle which is displayed just under the top menu in order to add images. Now, locate the images in your computer and select the desired ones which you want to upload in your gallery. It is better to make a folder of the images in your computer to save time. Your images will be copied to the online gallery. If you want to remove some images, just click on them and press ‘Delete’.
-
3
Then, click on any image in your gallery and select ‘Caption’ box to add caption to that image. You can only add caption of up to 512 characters.
-
4
In order to edit any image, you will have to right-click on that image and then select ‘Edit images’ option. You can crop your image, adjust colours and fix the red-eye effect.
-
5
You can also edit the properties of your gallery by going to ‘Gallery’ and then ‘Properties’ from where you can alter the name of your album and the size of your images.
-
6
Now, save the photo gallery as your project file. You can make changes in it as per your requirements at any time in the future.
-
7
You photo gallery is ready to be published. Just click ‘Publish gallery’ link which is on the top of the application. Select ‘Publish to folder’ (if you want to keep it in your PC) or ‘Publish to FTP server’ (if you want to publish it to your website).


